
Dell Latitude E6400 Hackint0sh
Dell Latitude E6400 Hackint0sh

As with the Dell D630, and the Toshiba Satellite, I kinda went a little hax0r crazy. I now have converted a Dell Latitude E6400 into my new Hackint0sh J
I am including all of the BIOS modifications in order to help make the install much easier for anyone reading.
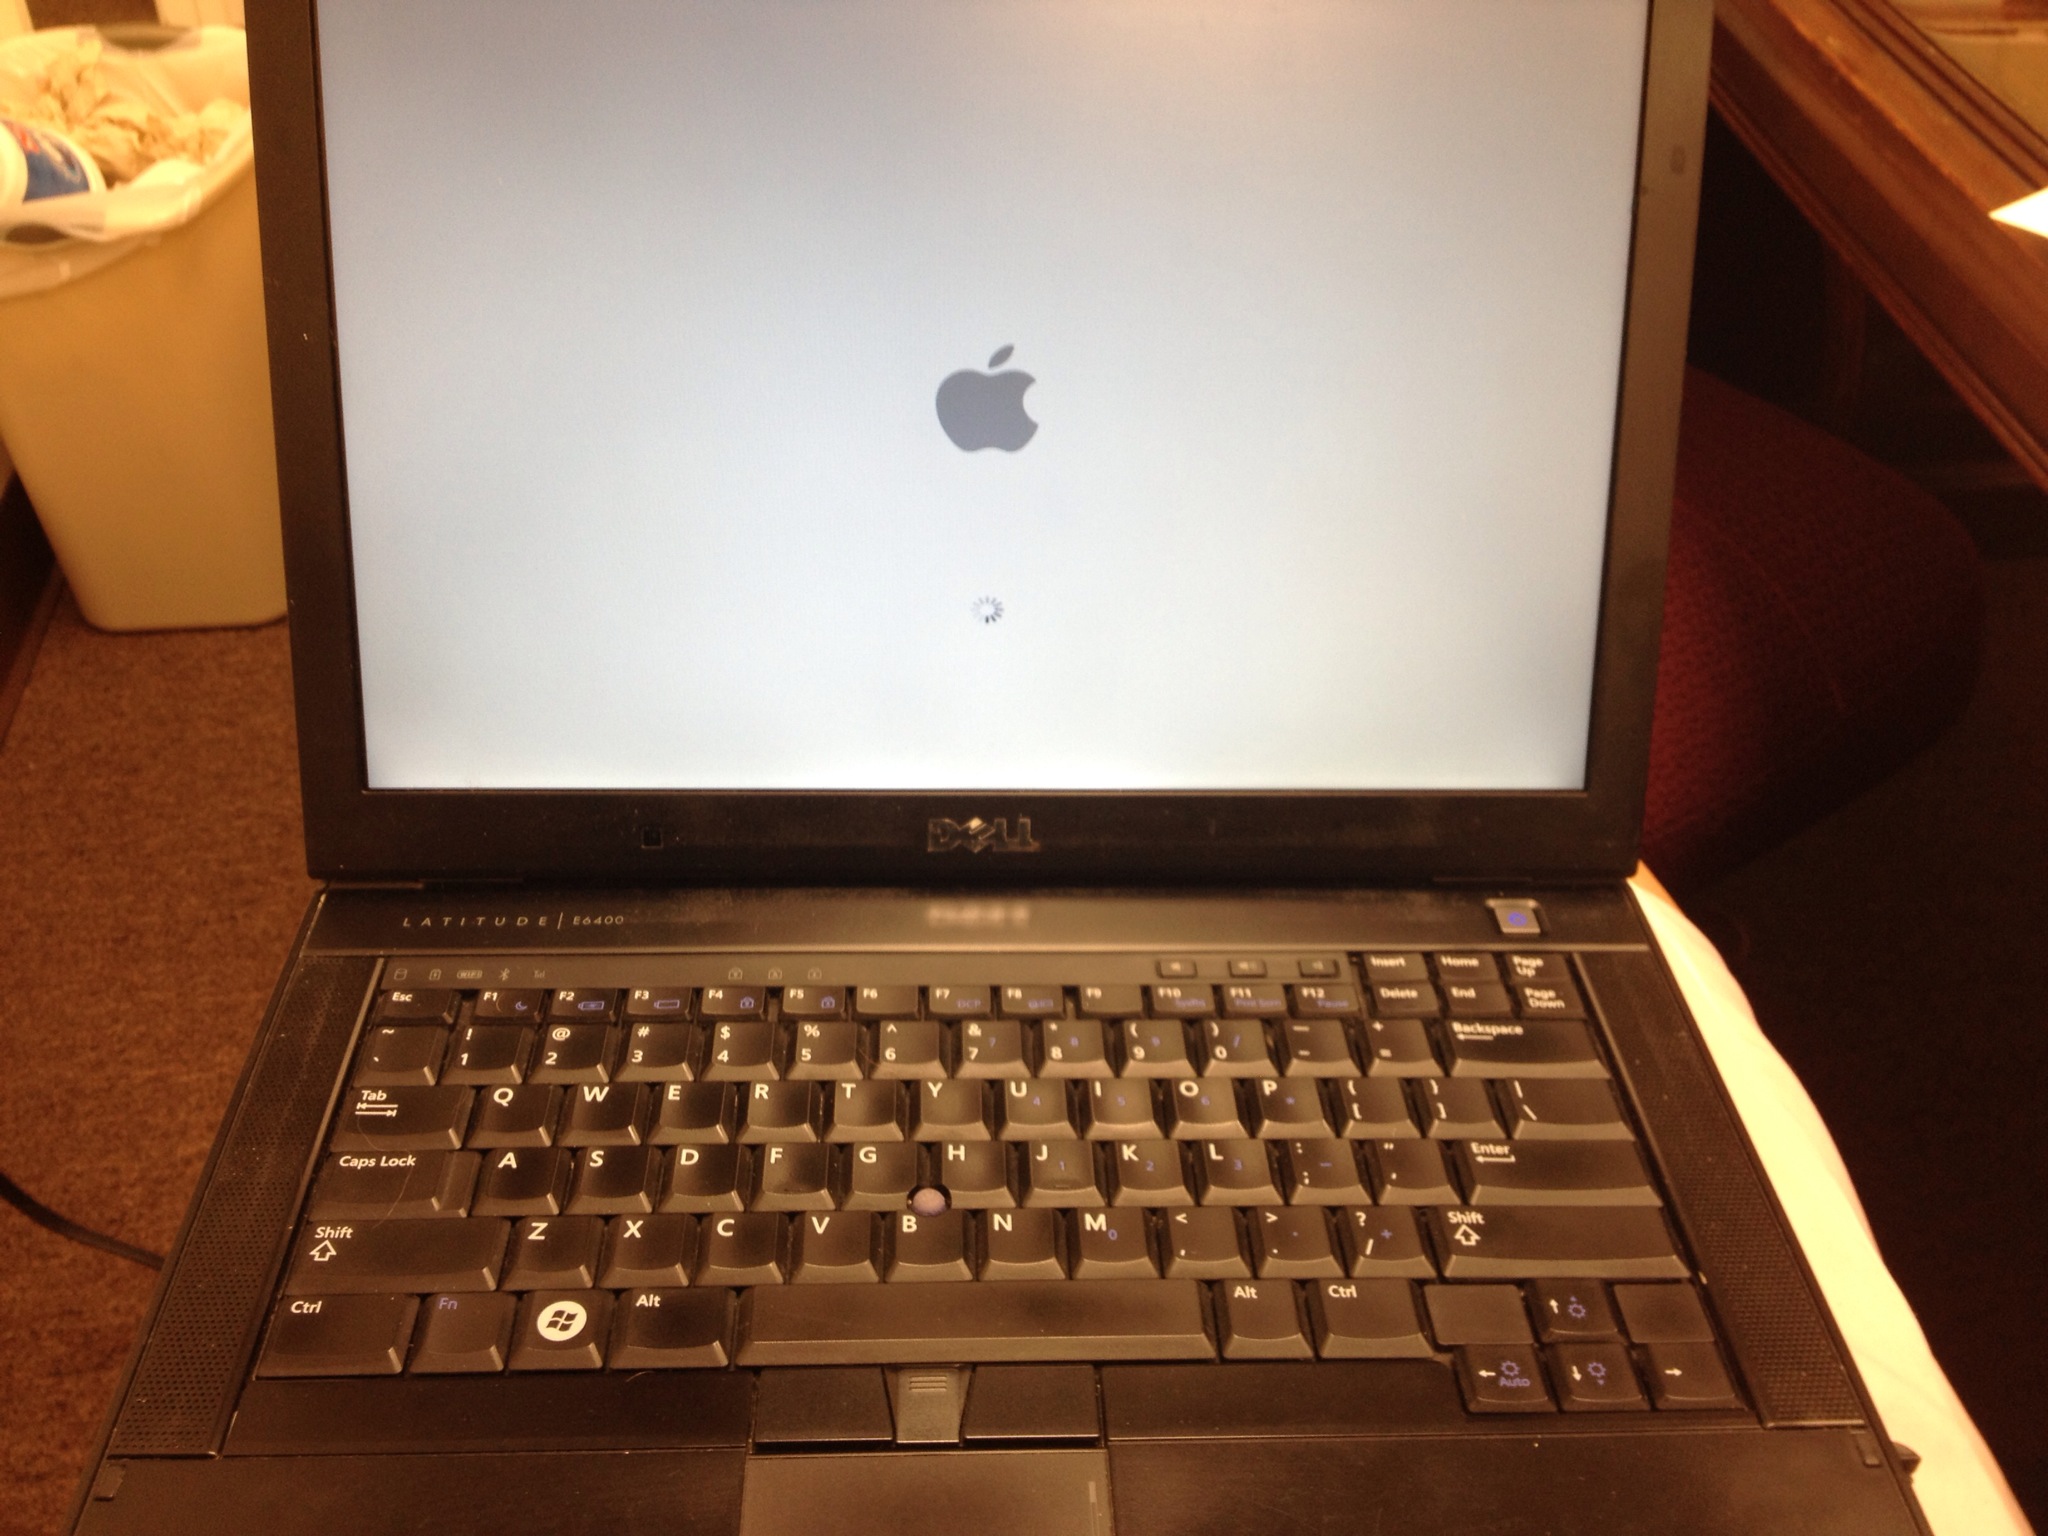
Boot with iDeneb v1.3 10.5.5
Restart your computer and hold down the F2 key to enter BIOS settings.
Change your BIOS settings to comply with Apple standards.
SYSTEM CONFIGURATION:
- INTEGRATED NIC: DISABLED
- PARALLEL PORT: DISABLED
- SERIAL PORT: DISABLED
- SATA OPERATION: AHCI
- MISCELLANEOUS DEVICES:
- ENABLE INTERNAL MODEM
- ENABLE MODULE BAY
- ENABLE MEDIA CARD, PC CARD, AND 1394
- ENABLE EXTERNAL USB PORT
- ENABLE MICROPHONE
- ENABLE eSATA
- DISABLE ADAPTOR WARNINGS UNLESS YOU REALLY ENJOY THAT ANNOYING BEEP DURING START-UP
Make sure all of your settings are working appropriately
Restart your computer holding the F12 key and boot from CD.
When prompted, hit the F8 key to enter startup options and type in any flags that you would like to see… I like to have verbose mode [-v] on so I can see what’s going on… especially if I have to go back and remedy a setting.
The length of time the next step takes generally depends on your system configuration and how much RAM you have. The more RAM the better
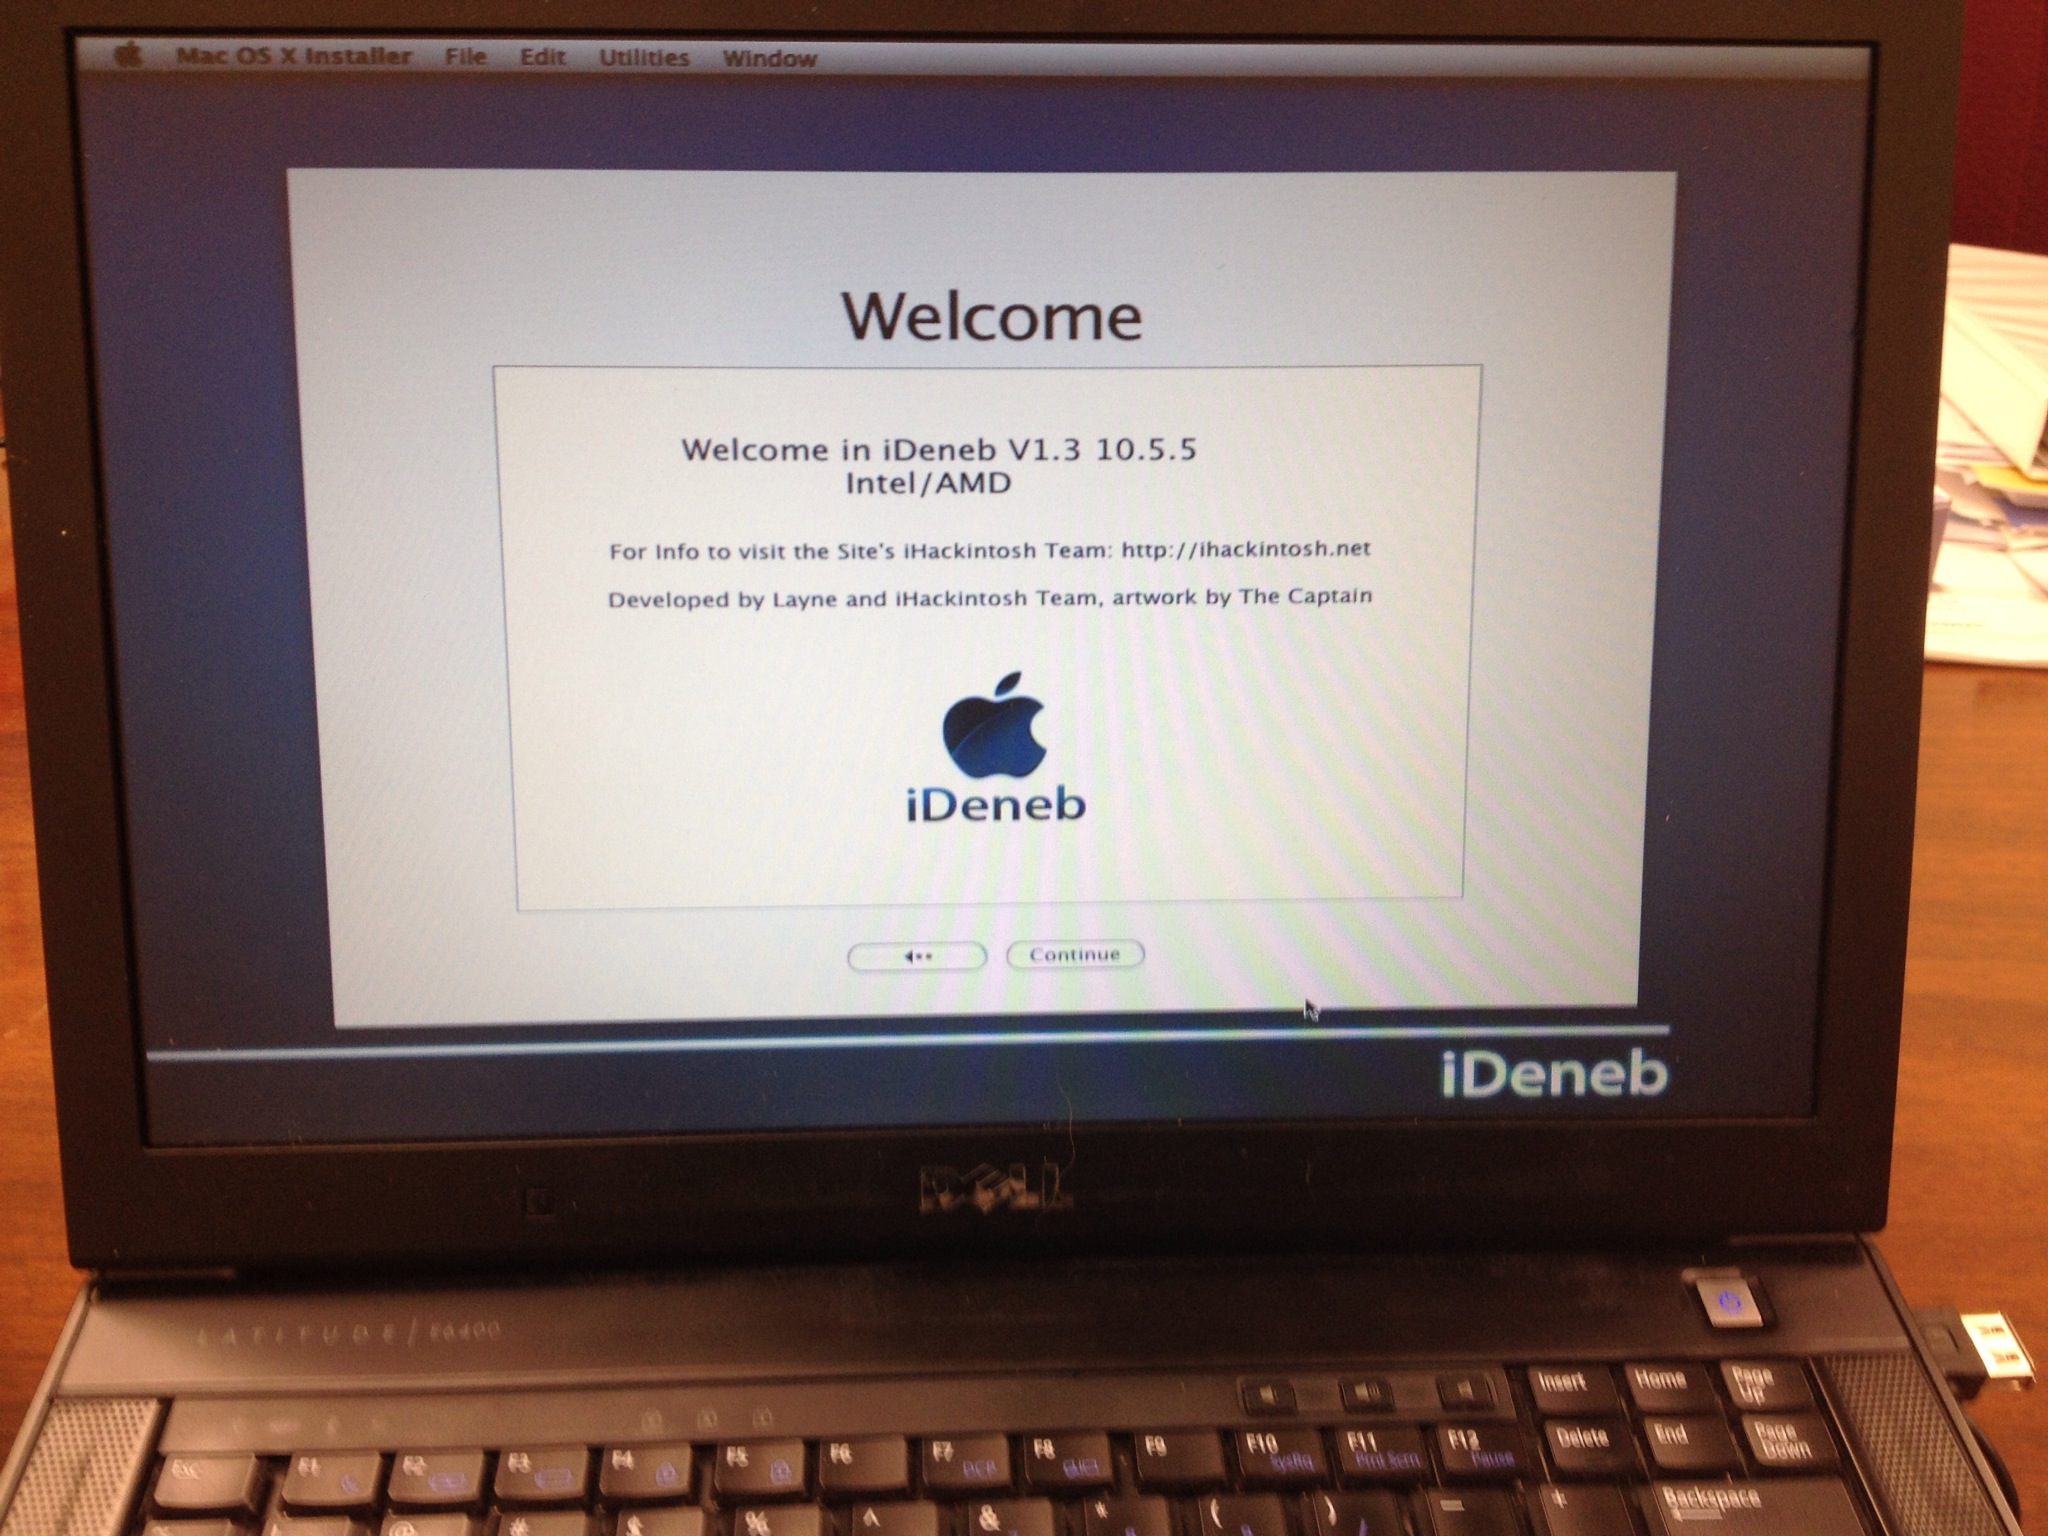
Install Welcome Screen (This is where things get just a bit tricky)
FORMAT YOUR HARD DRIVE

- Click on Utilities at the top of the screen in the menu bar
- Go to Disk Utilities
- Choose the main hard drive
- Click the Erase tab
- Click on the volume format drop down menu and choose OS Extended Journaled
- Name the partition whatever you like – be creative with it and have some fun… why else would we be putting Mac OS on a PC? =P
- DON’T FORGET to click on the options button and chose GUID Partition then go for it
Once partitioned, exit out by clicking the red X button and it should take you back to installation screen
Choose “Continue” and you will be shown the Agreement page, click Agree.
You will be shown the available options for drives to install on, you should see the one you just partitioned.
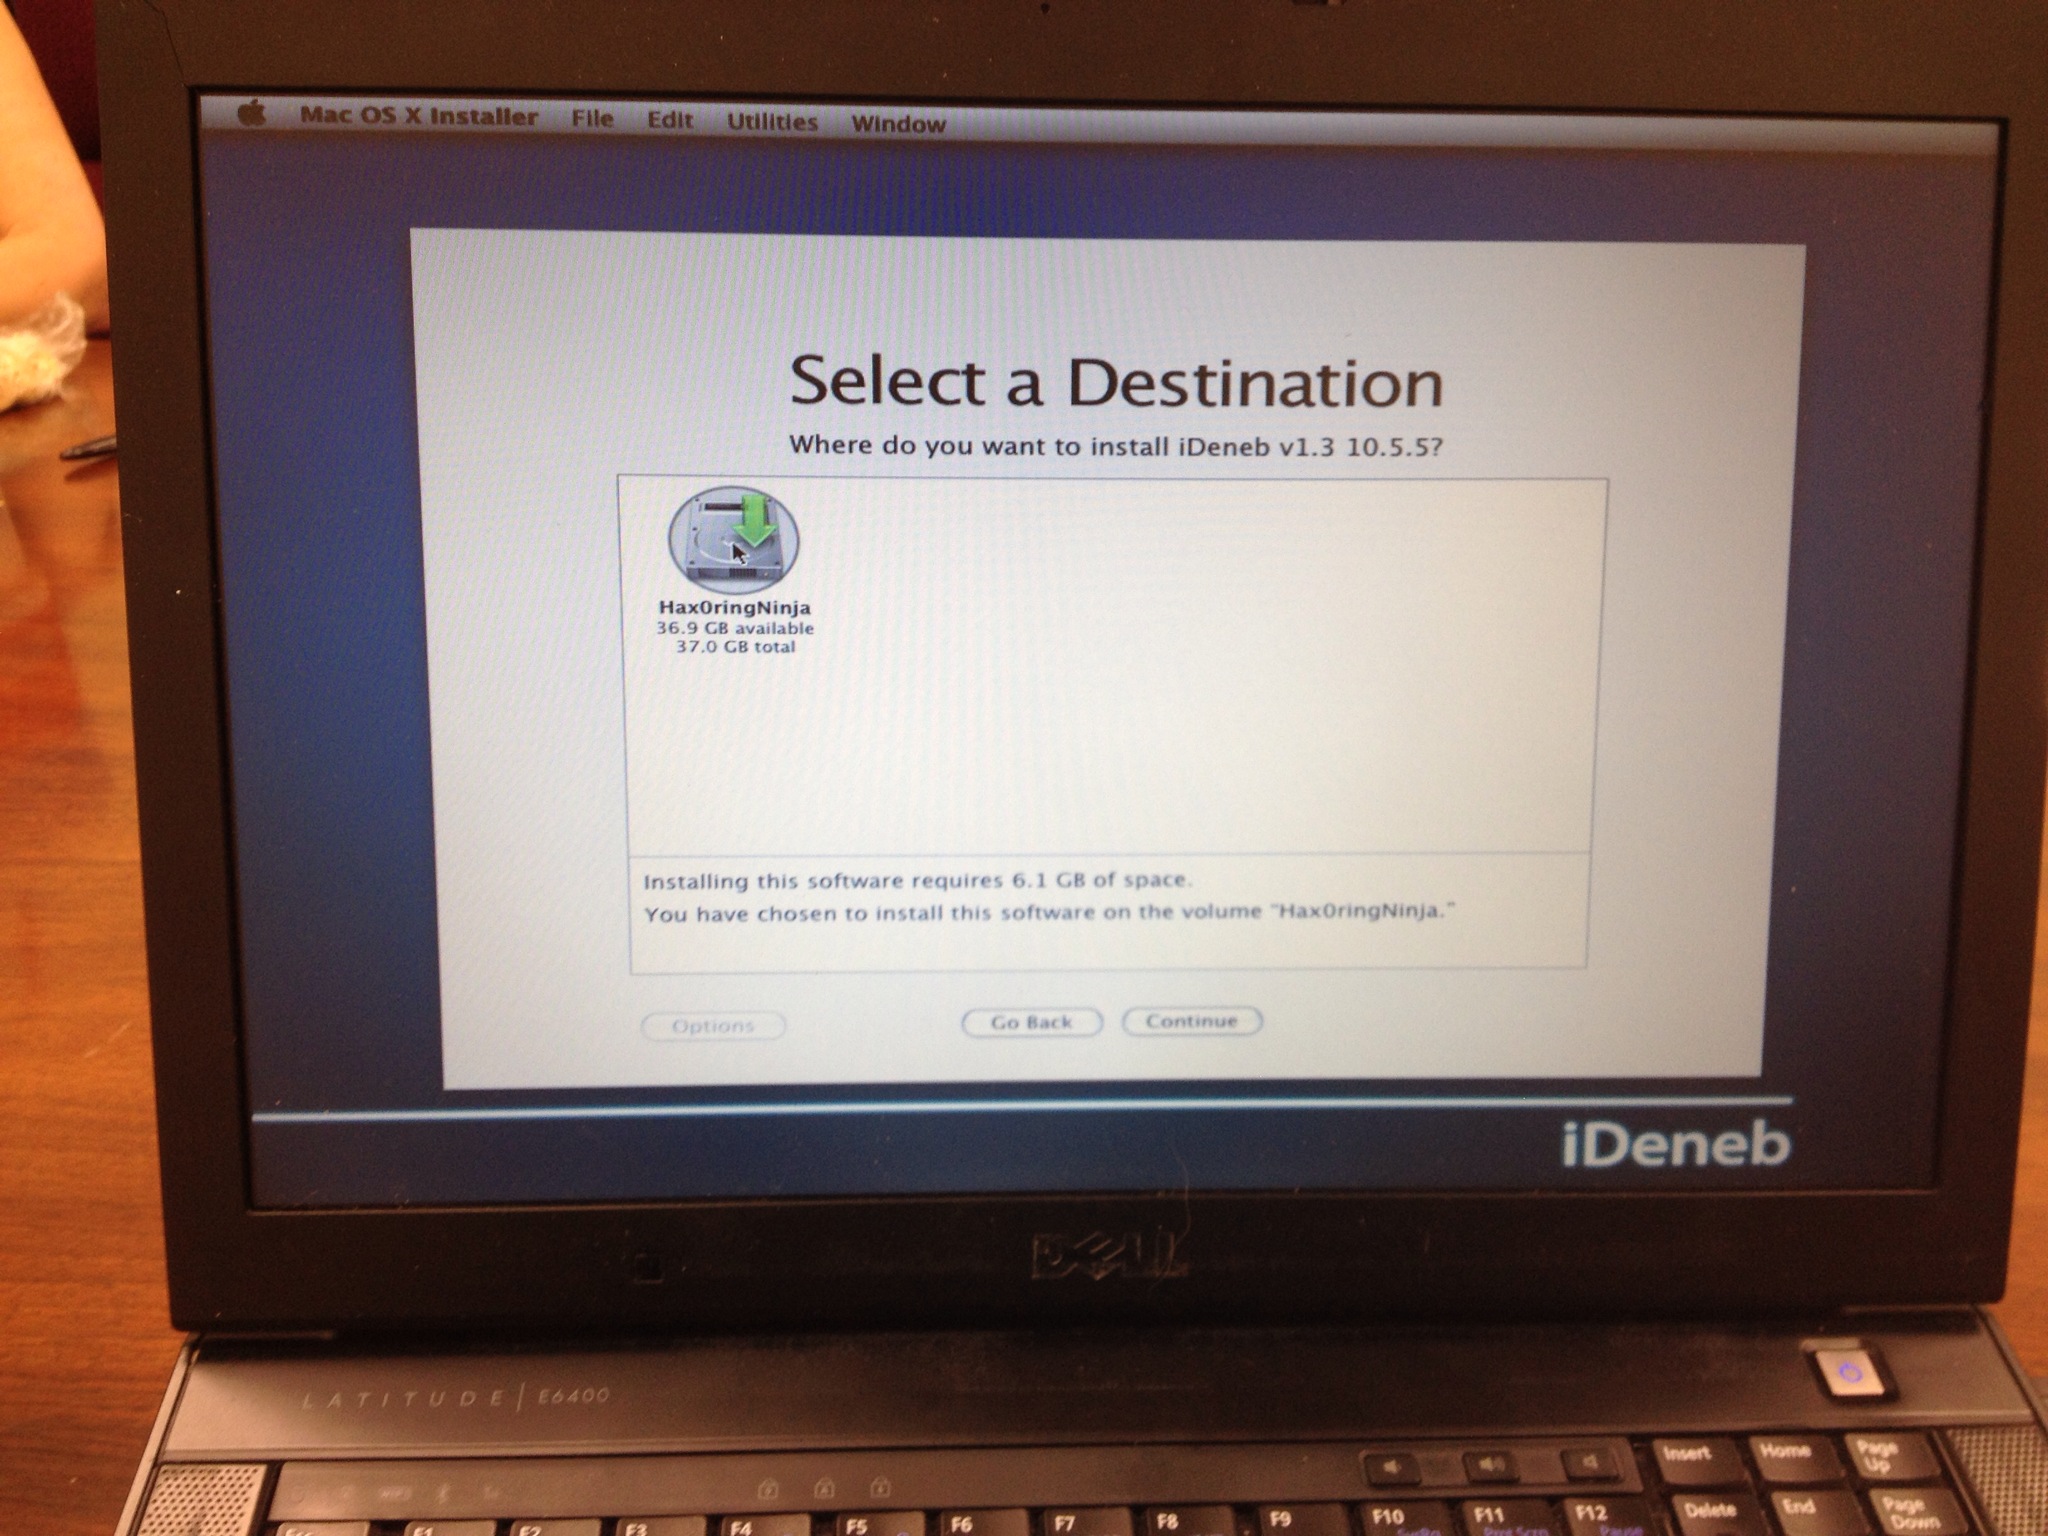
- If you don’t see one, it’s ok, you can go back to the Disk Utility and reconfigure
After you click continue and go to the Summary page WAIT!!!You MUST CUSTOMIZE!!
- If you don’t, the install will not function properly
Click on the Customize button and make the choices you require based on your specific hardware.
If the first install doesn’t work, you probably need to go back and modify the customization options;
OR
If you have different hardware, you might need to take another look at your BIOS settings.
Click Done and then Install

Voila!! The installer will primarily check your disk, you can skip the process but I recommend you let it do its thing. Once inspected, the disk won’t need to be inspected again for additional installs.
Once you see a screen with a green checkmark, you did it!!

OS X has been installed on your computer.
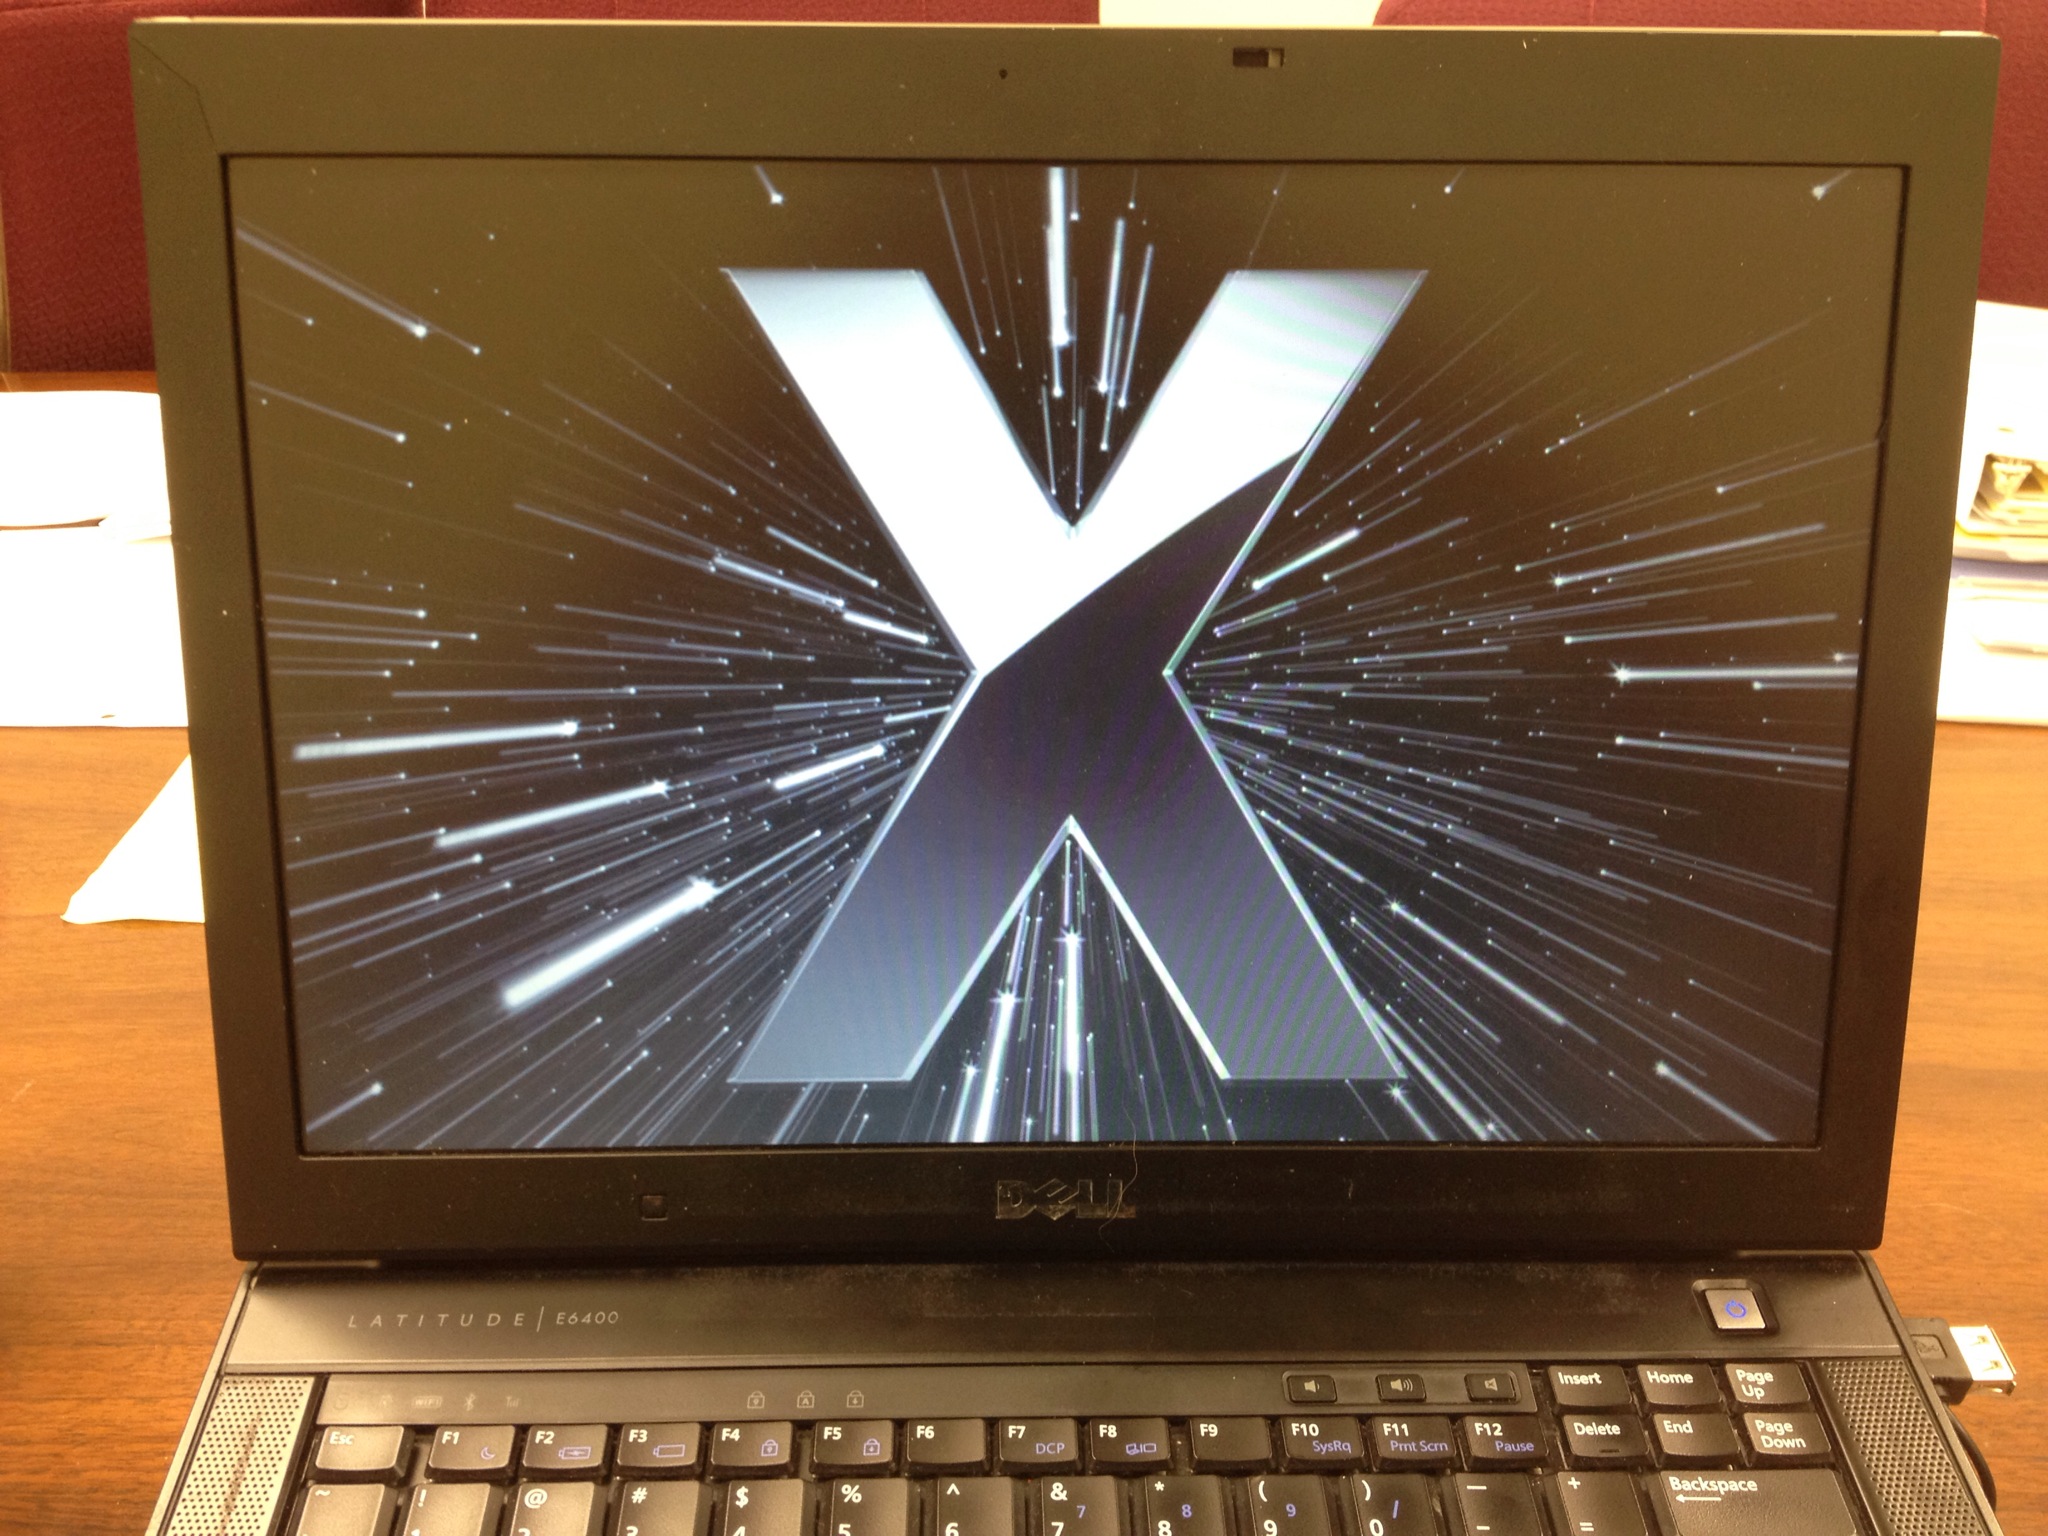
You’ll see a fancy video saying welcome in several languages and then be prompted to set up the basics.
Follow all the prompts

Add your info if you prefer
CONGRATS! You are now running OS X on your PC!!
ENJOY YOUR HACKINTOSH