
iDroid iPhone 3G
After several attempts at creating an iDroid on my iPhone 3G, I did it! 🙂 There are two methods that you can follow:
1- Automated install w/ Bootlace
2- Manual install w/ Linux
Method 1
Requirements
Devices
Currently Bootlace and iDroid are compatible with the following devices:
iPhone 2G firmware
iPhone 3G firmware
iPod Touch 1G
Firmware
iOS 3.1.2 -> 4.2.1
Jailbreak
Obviously the iDevice must be jailbroken so that you can download Bootlace from Cydia.
OpeniBoot requires a compatible jailbreak; one that allows for unsigned NOR images to be run. These jailbreaks are:
PwnageTool
Redsn0w
Blackra1n
IF YOUR DEVICE/IOS VERSION/JAILBREAK IS NOT LISTED, THEN IT IS NOT SUPPORTED.
OpeniBoot will NOT work with the Spirit or Jailbreakme.com jailbreaks.
Installing Bootlace
Open up Cydia and search for Bootlace. It is hosted by BigBoss.
Install the package named Bootlace.
Installing OpeniBoot and iDroid
Exit Cydia, and open Bootlace. Bootlace will then check the compatibility of your iOS and Jailbreak. If all requirements are met, Bootlace will automatically patch your iOS kernel to be ready to flash OpeniBoot. After this process is completed, you will be asked to reboot iOS.
Once iOS has loaded, launch Bootlace and tap the OpeniBoot tab (2nd from right, that looks like a boot).
Touch the green Install button.
A warning message will appear. Continue if you want to install OpeniBoot.

Bootlace will take a while to flash the Firmware for OpeniBoot.
Then tap the iDroid tab and then touch Install!
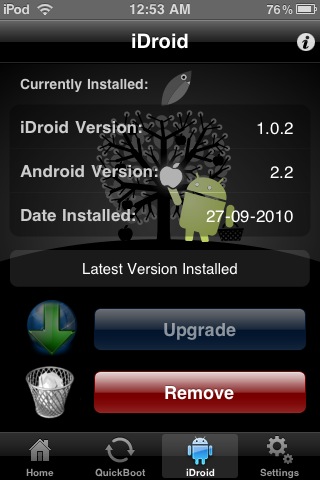
The installation could take some time (depending on your connection speed). It is best to be connected via WiFI rather than 3G or EDGE.
Also, touch the (i) on the upper right corner to extract the Multitouch Firmware and Download the WiFi Firmware. You have to touch those buttons for the firmware.
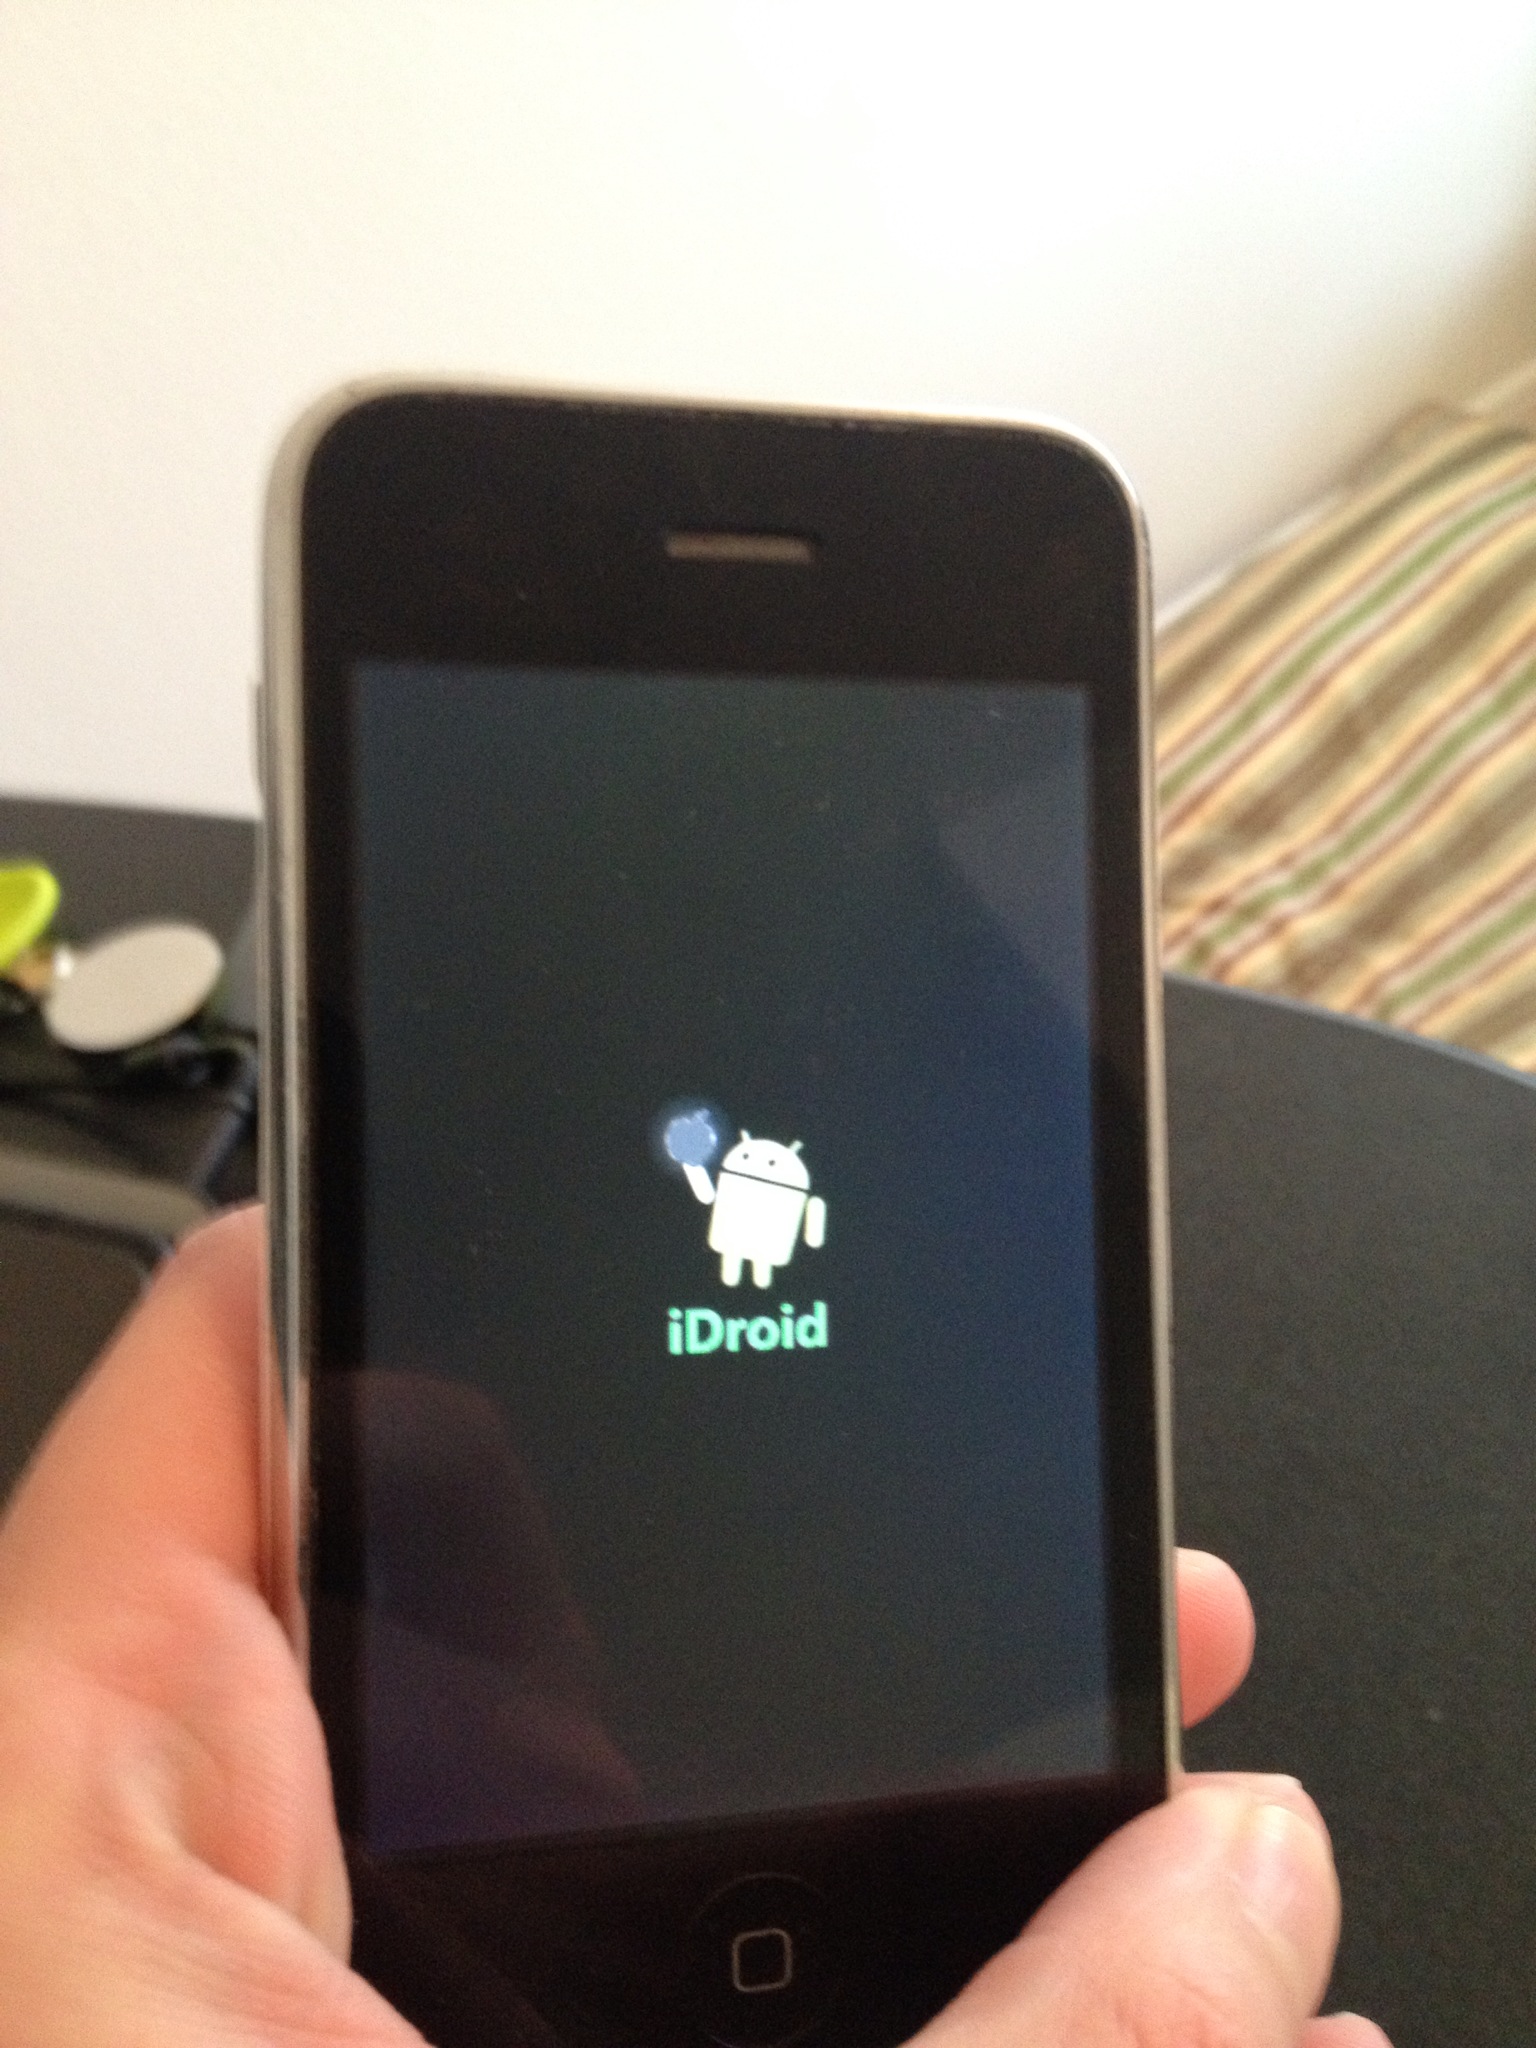
After installation you can reboot your device and select iDroid in the OpeniBoot Menu using the volume buttons (or power button if you are on iPod Touch 1G) and confirm with the home button.

Congratulations. You installed iDroid on your iOS Device.
Method 2
Linux
Knowledge of Linux bash commands comes highly recommended.
Note: loadibec and oibc tools are compiled under a 32bit system. If you want to execute them under your 64bit distribution, you have to install ia32 shared libraries, and i386 release of libusb-1.0, libusb-0.1, readline and libgcc.
Jailbreak
iDroid is NOT compatible with the Spirit Jailbreak nor is it compatible with the Jailbreakme.com Jailbreak.
Recommended jailbreaks are redsn0w or any of the pwn varietes (QuickPWN, Pwnage tool etc) – These are known to work well.
Download the Files
Navigate to http://cdn.idroidproject.org/release/idroid/ with your browser.
Choose the folder that relates to your preferred release version.
Download the file related to your device and gunzip it.
Navigate to the idroid folder and check if you have the following files:
- android.img.gz
- cache.img
- system.img
- userdata.img
- zImage
Navigate to http://cdn.idroidproject.org/release/openiboot/0.2/ and choose the folder that corresponds to your device:
iPhone1,2 corresponds to iPhone 3G
Download the file (openiboot.img3) to a convenient location such as your Desktop.
Depending on your Operating System, download the tools to install OpeniBoot from here:
http://cdn.idroidproject.org/release/tools/
These tools have been improved and updated from the original ones created by planetbeing. For best results and optimum installation, it is advised to use the tools from the download link.
Extract/unzip the archive. You should end up with a folder named for your type of OS; i.e. Linux-x86 for 32-bit Linux, or Linux-x86_64 for 64-bit Linux.
Copy/Move the files from the folder extracted (corresponding to your OS) to the same convenient location where openiboot.img was extracted to (ex. Desktop).
The convenient location must contain: loadibec, oibc, openiboot.img3, and linux (if you are using 64-bit Linux).
Preparing the device
Beginning with openiBoot 0.1.2, the idroid files (from idroid folder) must be placed on the iDevice in the directory /private/var/idroid.
There are many ways in which this can be achieved. The best and most recommended way is to use ssh/scp. If you insist of having an interface for ssh’ing, gFTP is good on Linux.
If you want to transfer files via USB cable, iFuse can be used but it is very time consuming to setup (afc2add must be installed with Cydia in order for it to connect to the device). Ubuntu 10.10 has built-in support for USB and browsing jailbroken file-systems.
SSH into the device (this should be fairly clear to any beginner iPhone user by now) and navigate to /private/var/.
Make 3 new directories named idroid (/private/var/idroid/), sdcard (/private/var/sdcard/) and firmware (/private/var/firmware). These directories are case-sensitive and are all in lowercase/small letters; firmware is not the same as Firmware or FIRMWARE. The firmware folder will be required in the next section.
Copy the 5 android related files into the /private/var/idroid directory. The 5 android files are android.img.gz, cache.img, system.img, userdata.img and zImage. If you are using OpeniBoot version 0.1.1 and below, the directory is /private/var instead of /private/var/idroid.
Make sure that the file sizes of the 5 android files from your computer match or are equal to the file sizes of the 5 android files in /private/var/idroid.
Extraction of firmware
Auto-extractors are recommended as these are supported by the main devs but there are also manual extraction methods. The preferred method is to use Neonkoala’s Bootlace app from Cydia (but if you use that, you might as well install iDroid using Bootlace) or Ninn’s Extraction Technique.
Automated Extraction
Ninn’s Extraction Technique (Linux)
(http://www.idroidproject.org/wiki/Extraction_Technique) – This is a shell script to be run in Linux, and you need the iDevice’s ipsw file (the script will download it for you if you don’t have it). A Windows Version of this is bundled with NAiDroid Auto-Installer
Zephyr Extraction
Install iokittools from Cydia
For iPhone 3G:
cat /usr/share/firmware/multitouch/iPhone.mtprops | grep -B2 0x0049 | grep data | sed ‘s/^\t\t<data>//’ | sed ‘s/<\/data>$//’ | base64 -d > zephyr2.bin
This command will automatically extract the zephyr2.bin for iPhone 3G and put it in the right folder.
Getting sd8686 and sd8686_helper
The Wi-Fi firmware files are already included in the latest release. They are in the firmware folder from the extracted archive. Don’t forget to read the included LICENSE.txt.
They can be also found on Marvell’s site, if you want to try different firmware.
Go to http://www.marvell.com/support.html
Under “Choose a platform”, select “Linux 2.6 – Fedora”.
Click the Search button under the drop down box.
Download and extract the SD-8686-* zip archive.
Rename helper_sd.bin to sd8686_helper.bin
Keep sd8686.bin and sd8686_helper.bin in a safe place for later.
Ninn’s Extraction Technique automatically downloads the Wi-Fi firmware files.
Transferring the firmware files
Once all extraction has finished, you should end up with the following files:
- zephyr2.bin
- sd8686.bin and sd8686_helper.bin
All these files must be placed in the firmware folder created earlier (/private/var/firmware). Make sure that the file sizes match again. Wrong file sizes can mean an error or problem in transferring so please try transferring the files again until the file sizes match.
Loading and Installing OpeniBoot
Now to install the bootloader, OpeniBoot.
Open up a Terminal and navigate to the convenient location containing loadibec, oibc, and openiboot.img3 (and linux if on 64bit). The following is only an example command:
cd Desktop
Type these commands into the Terminal window (don’t forget to enter your password when asked):
sudo apt-get install libusb-1.0-0 libusb-1.0-0-dev libreadline6-dev readline-common libreadline6 libreadline-dev
Please note that the apt-get or aptitude command is only for Debian or Ubuntu distros. Use the appropriate command for your Linux distro, for example emerge orportage for Gentoo, yum for Fedora, and yast for SUSE distros.
Turn off your device and place it in Recovery mode:
When the device is turned off, hold down the Home button, then connect the USB cable (make sure that is connected to the PC), keep holding the Home button until a screen with the iTunes logo and and a cable pointing towards it.
Go back to the Terminal window and type the following command (don’t forget to enter your password when asked):
sudo ./loadibec openiboot.img3
The device’s screen should flash for a brief second and the OpeniBoot menu will load.
If you would like to test Android before installing OpeniBoot, simply navigate with the volume buttons (or Power button if you are on iPod Touch 1G) to the Android logo and press the Home button. You will have to repeat the loading OpeniBoot process in order to install it later.
Using the volume buttons (or Power button if you are on iPod Touch 1G), navigate to the console selection (the cog icon) but don’t press the Home button yet.
In the Terminal window type the following command:
sudo ./oibc
Do not press enter yet – Press the Home button on the device, wait 1 or 2 seconds and then press enter on your PC to send the command, this is necessary as there is a current problem with OpeniBoot where the computer often does not connect to the device if the console screen has been on for a long time. You will know if the computer has failed to connect to the device if you receive only this output:
!<filename>[@<address>] to send a file, ~<filename>[@<address>]:<len> to receive a file
The command will succeed if you see the OpeniBoot ASCII art on the Terminal screen on your PC. If those specific commands do not work, try putting the entire file pathname instead and reattempt to run the commands.
In the Terminal window type this command:
install
Note: If you get a error like this:
**ABORTED** Writing total image size: 0xeb240, new ibot size: 0x3b180 at 0x20000 would overflow NOR!
Try to remove any custom bootlogo/recovery images by jailbreaking the device again without this option.
The install process should take around 30 seconds to 1 minute to complete. When completed, it will display this message on the iDevice: Openiboot installation complete. It may also display the message on the Terminal screen on your PC.
This command will have also copied a file to your PC: norbackup.dump (usually a 1MB file). Keep this file in a safe location as it is the backup of the original bootloader, if the bootloader corrupts and you do not have this dump file, your device may become a very expensive paperweight.
Type this command in the Terminal:
reboot
Your device should reboot and you shall be presented with the OpeniBoot menu again. Select the iOS option (press Power/volume buttons to select) and boot iOS by pressing the Home button.
Congratulations, you have finished the installation procedure. Enjoy flaunting iDroid on your device.


One thought on “iDroid iPhone 3G”