
Dell Latitude D630 Hackint0sh 10.5.2
![]()
Dell Latitude D630 Hackint0sh 10.5.2
For all the techs in training out there, when I heard that I can run OS X on a PC I said, “Challenge accepted!” 🙂
The first Hackint0sh I was able to successfully function as a Hackintosh was a Dell Latitude D630 using the Kalyway 10.5.2 DVD.
Dell Latitude D630
- Original OS: Windows XP
- CPU: Intel Core 2 Duo T7100 / 1.8 GHz
- Chipset: PM965
- ICH8-ME
- Memory: 1.0 GB
- Video: G 86M
- Quadro NVS13SM
- NVIDIA
- Ethernet: BCMS7SSM
- Gigabit Ethernet PCI
- Wireless: BCM4312
- 802.11g
- BIOS Revision A17
- SATA: AHCI
Boot with Kalyway_10.5.2_DVD_Intel_Amd
- Restart your computer and hold down the F2 key to enter BIOS settings.
- Change your BIOS settings to comply with Apple standards.
- Restart your computer holding the F12 key and boot from CD.
- When prompted, hit the F8 key to enter startup options and type in –v noapic cpus=2 and hit enter.
- The length of time generally depends on your system configuration and how much RAM you have. The more RAM the better 😀
These should help:
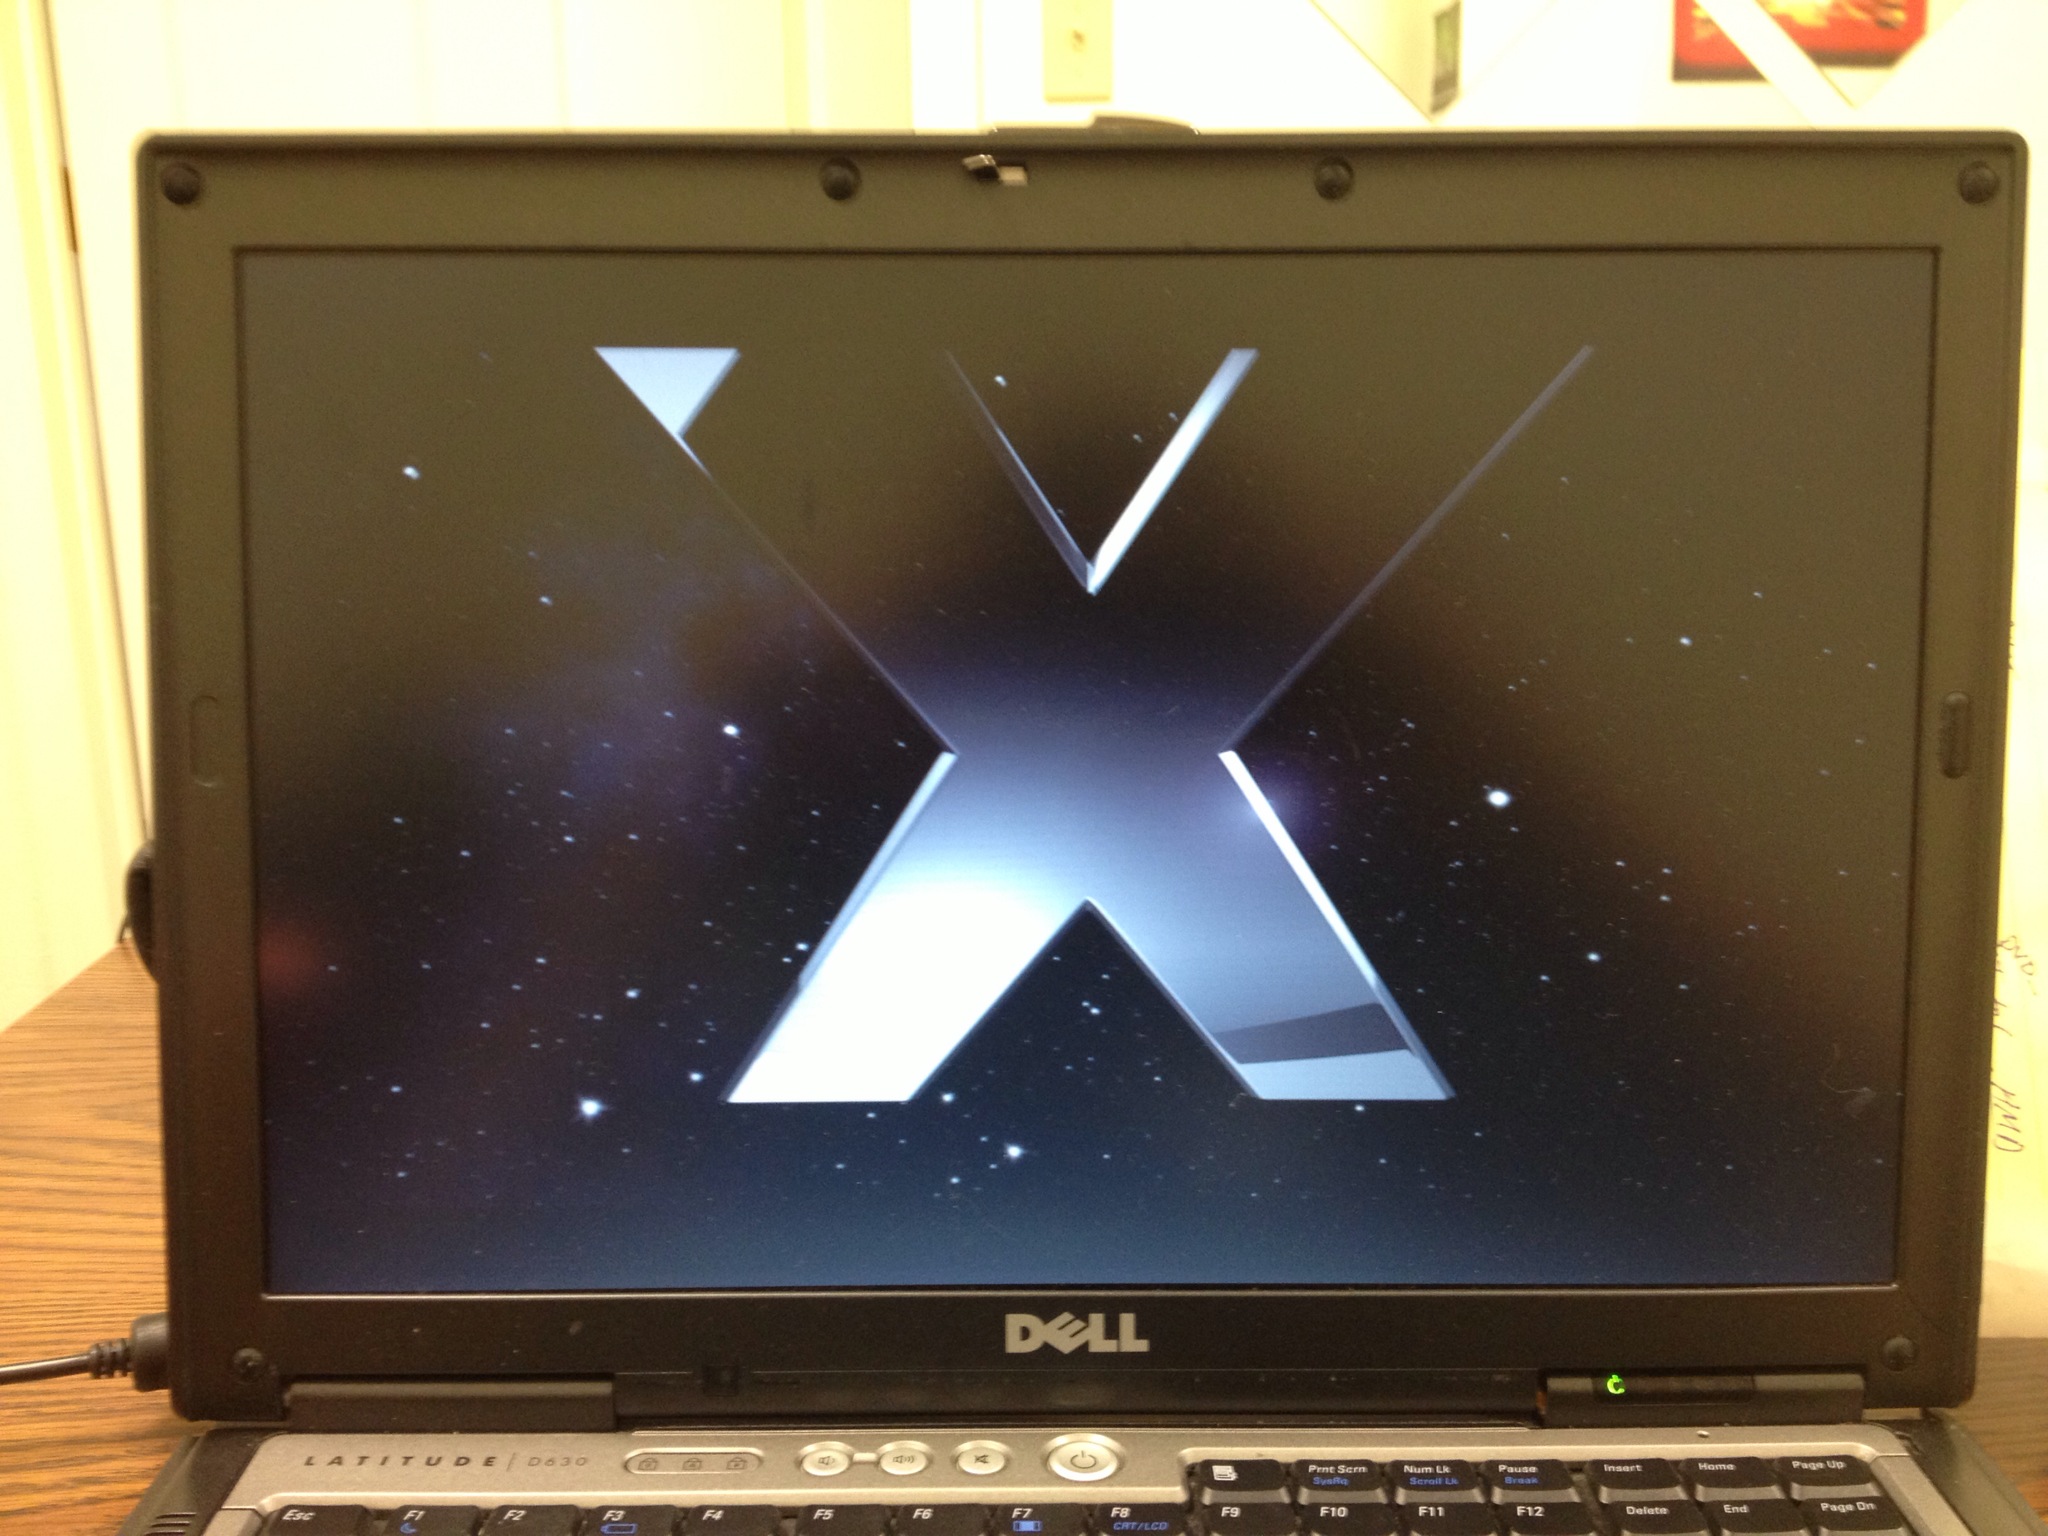
Apple Load Screen
Choose your Language (I chose English for the install)
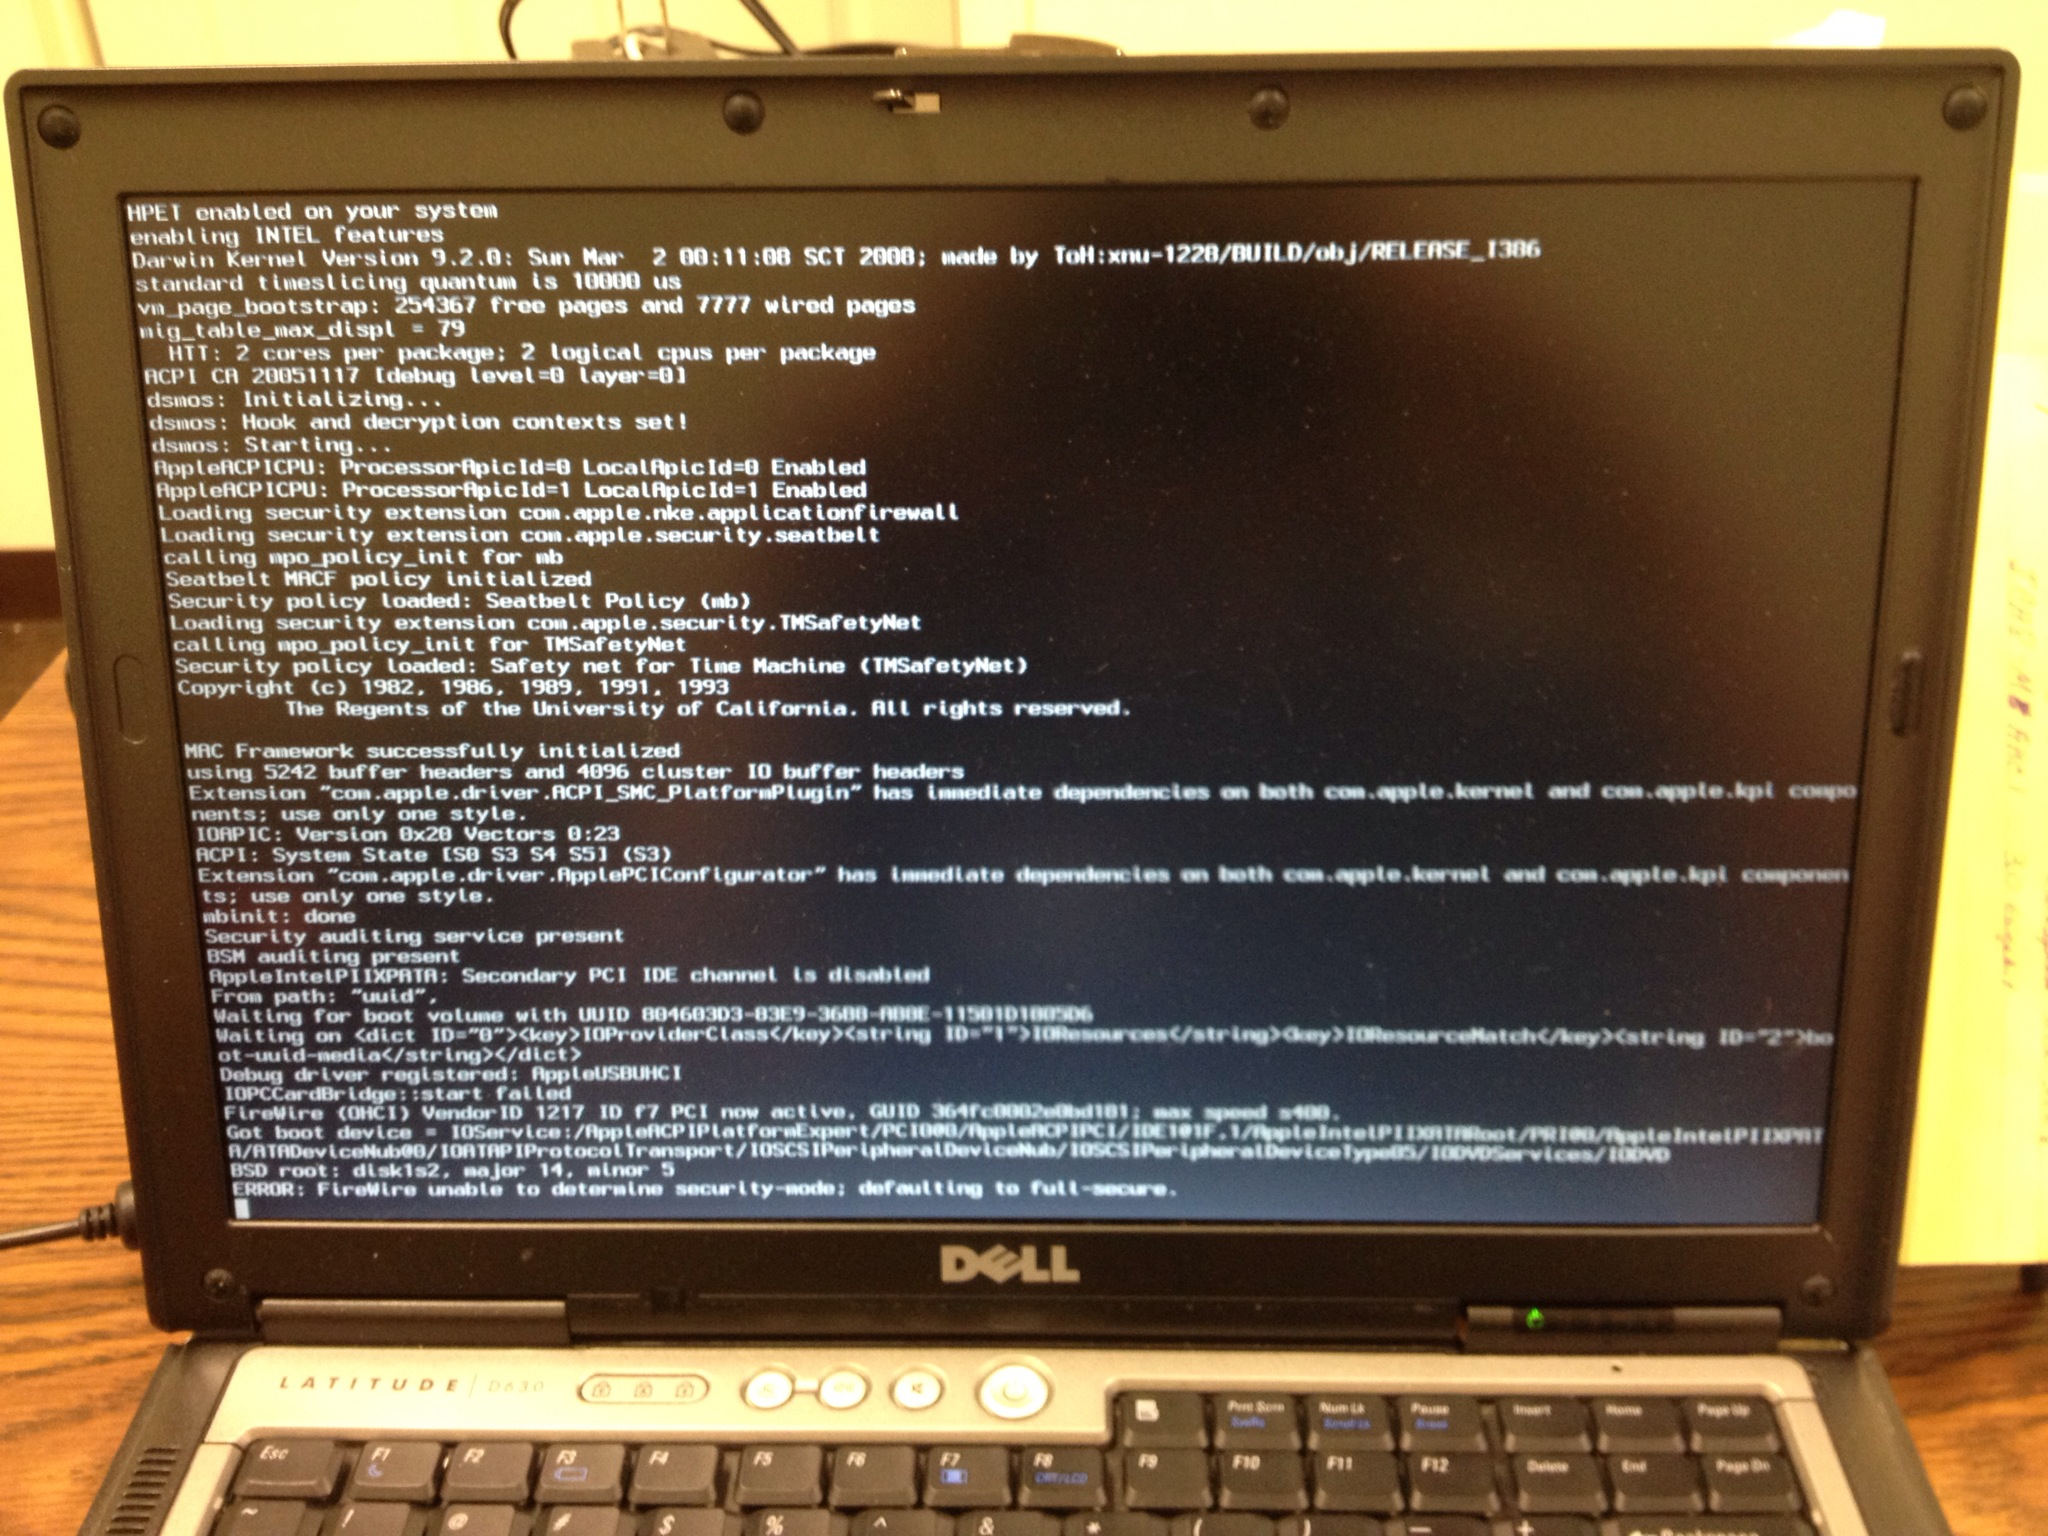
Load Screen
Install Welcome Screen (This is where things get just a bit tricky)
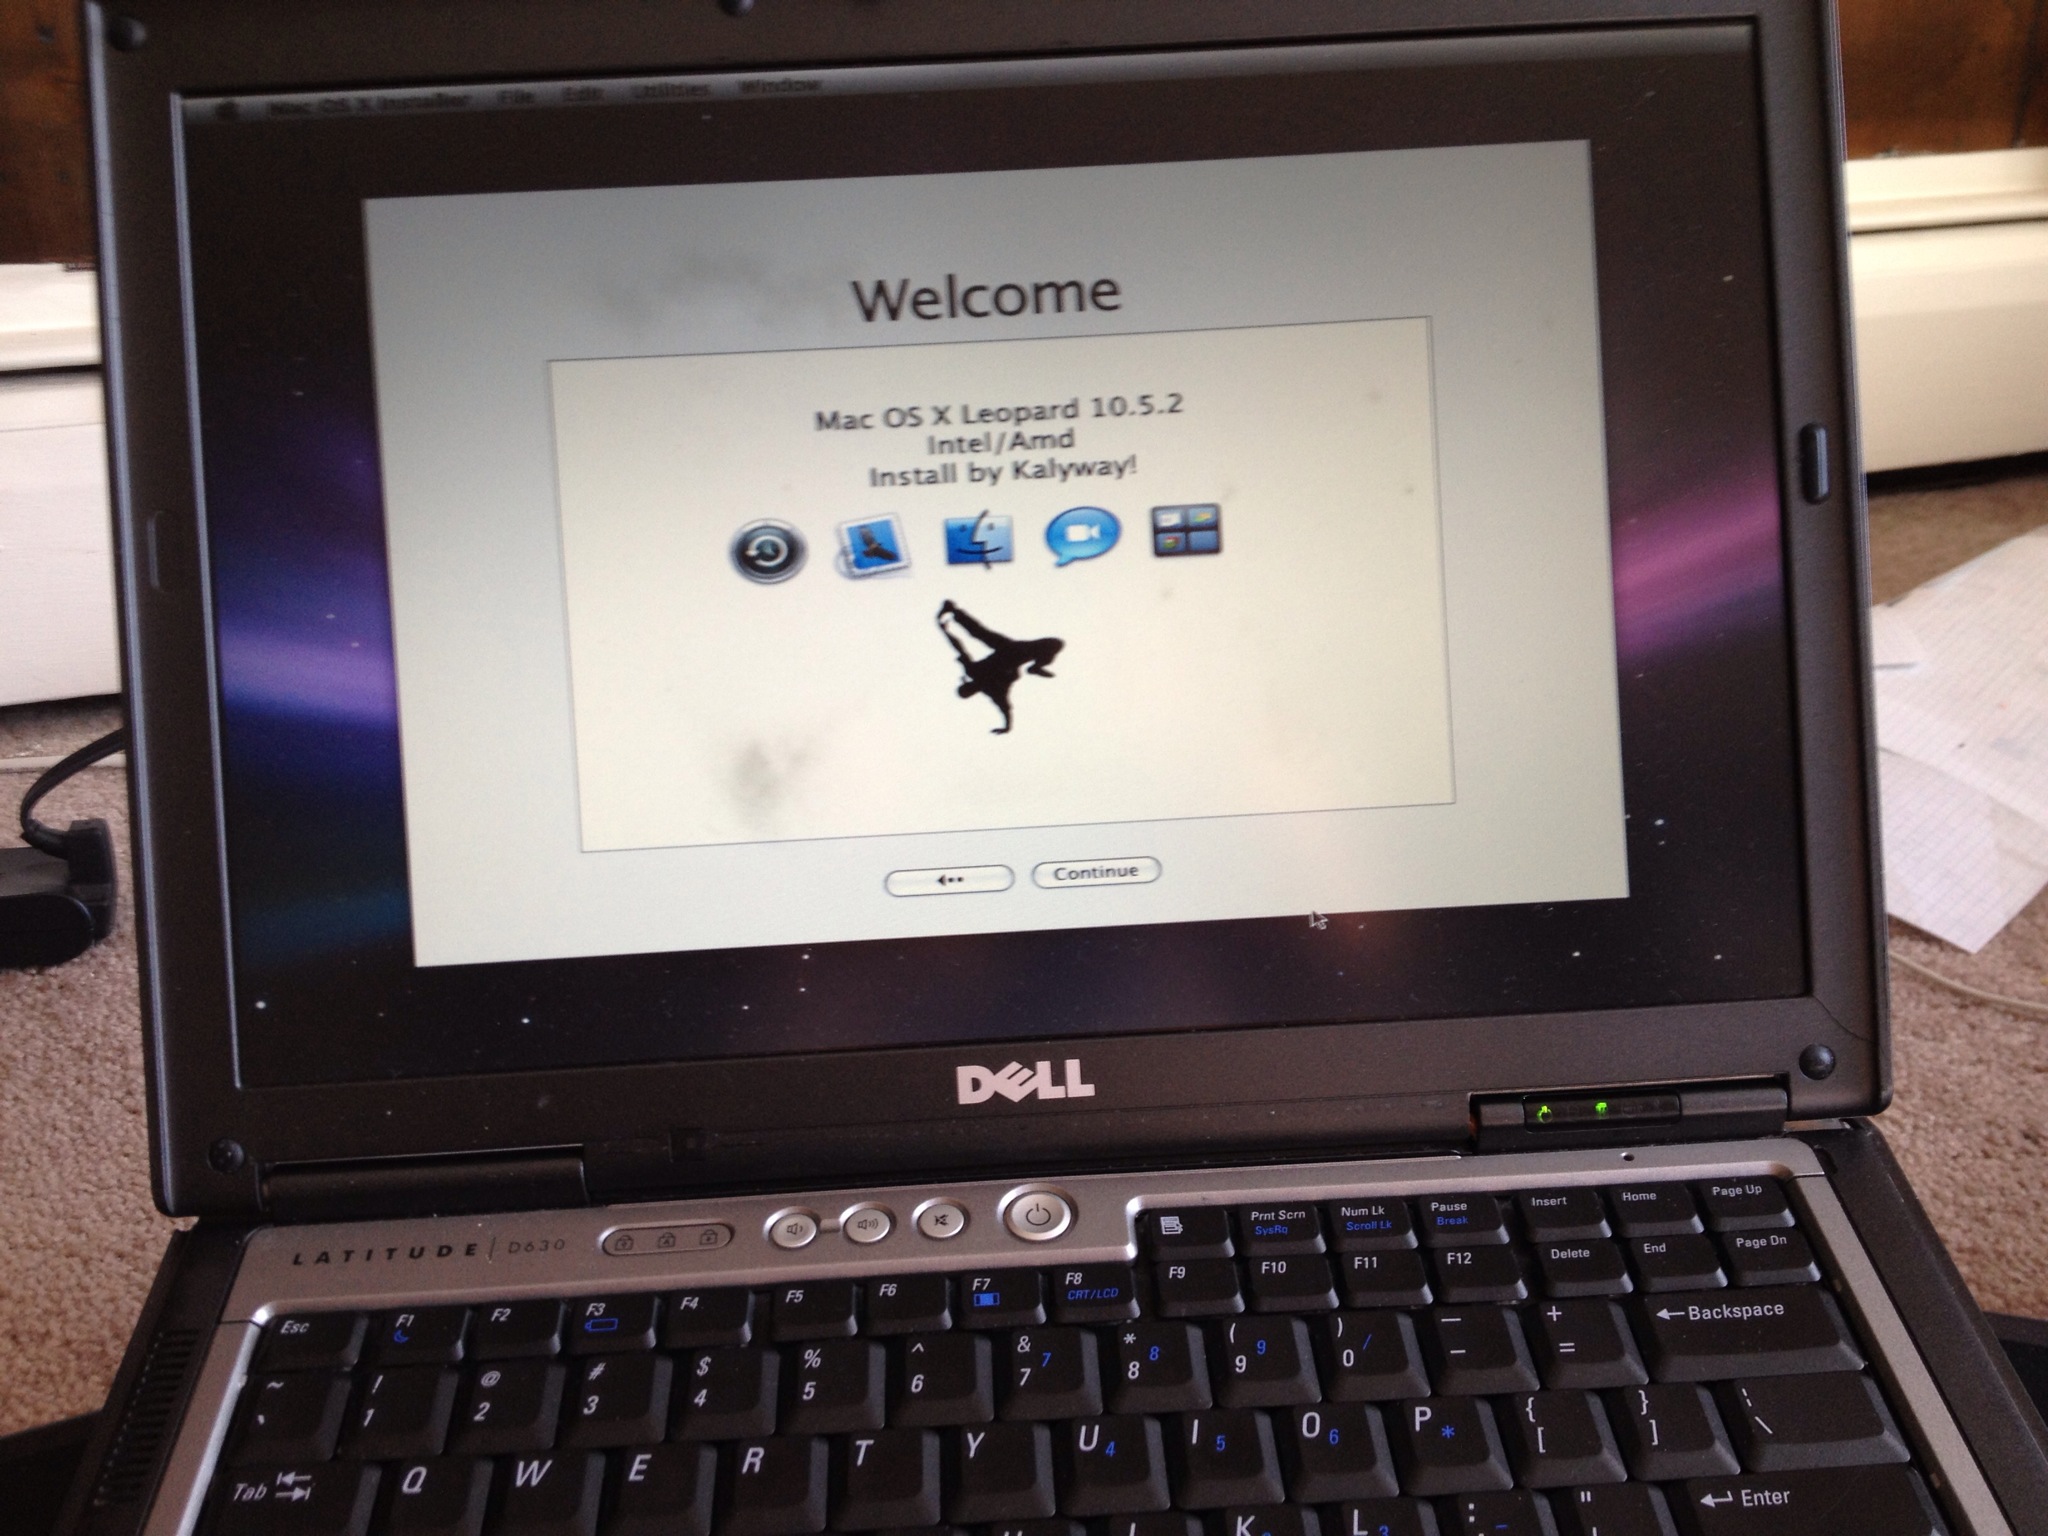
- The break-dancer image was added by Kalyway and if you click on more options, you can learn more.
- FORMAT YOUR HARD DRIVE
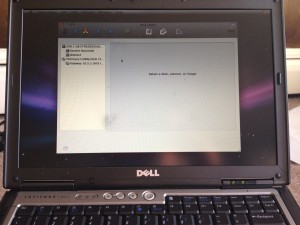
- Click on Utilities at the top of the screen in the menu bar
- Go to Disk Utilities
- Choose the main hard drive
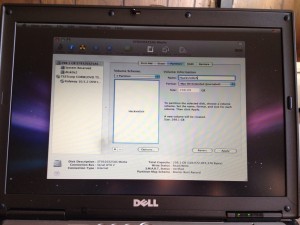
- Click the Erase tab
- Click on the volume format drop down menu and choose OS Extended Journaled
- Name the partition whatever you like, I called mine haxint0sh just for the hell of it
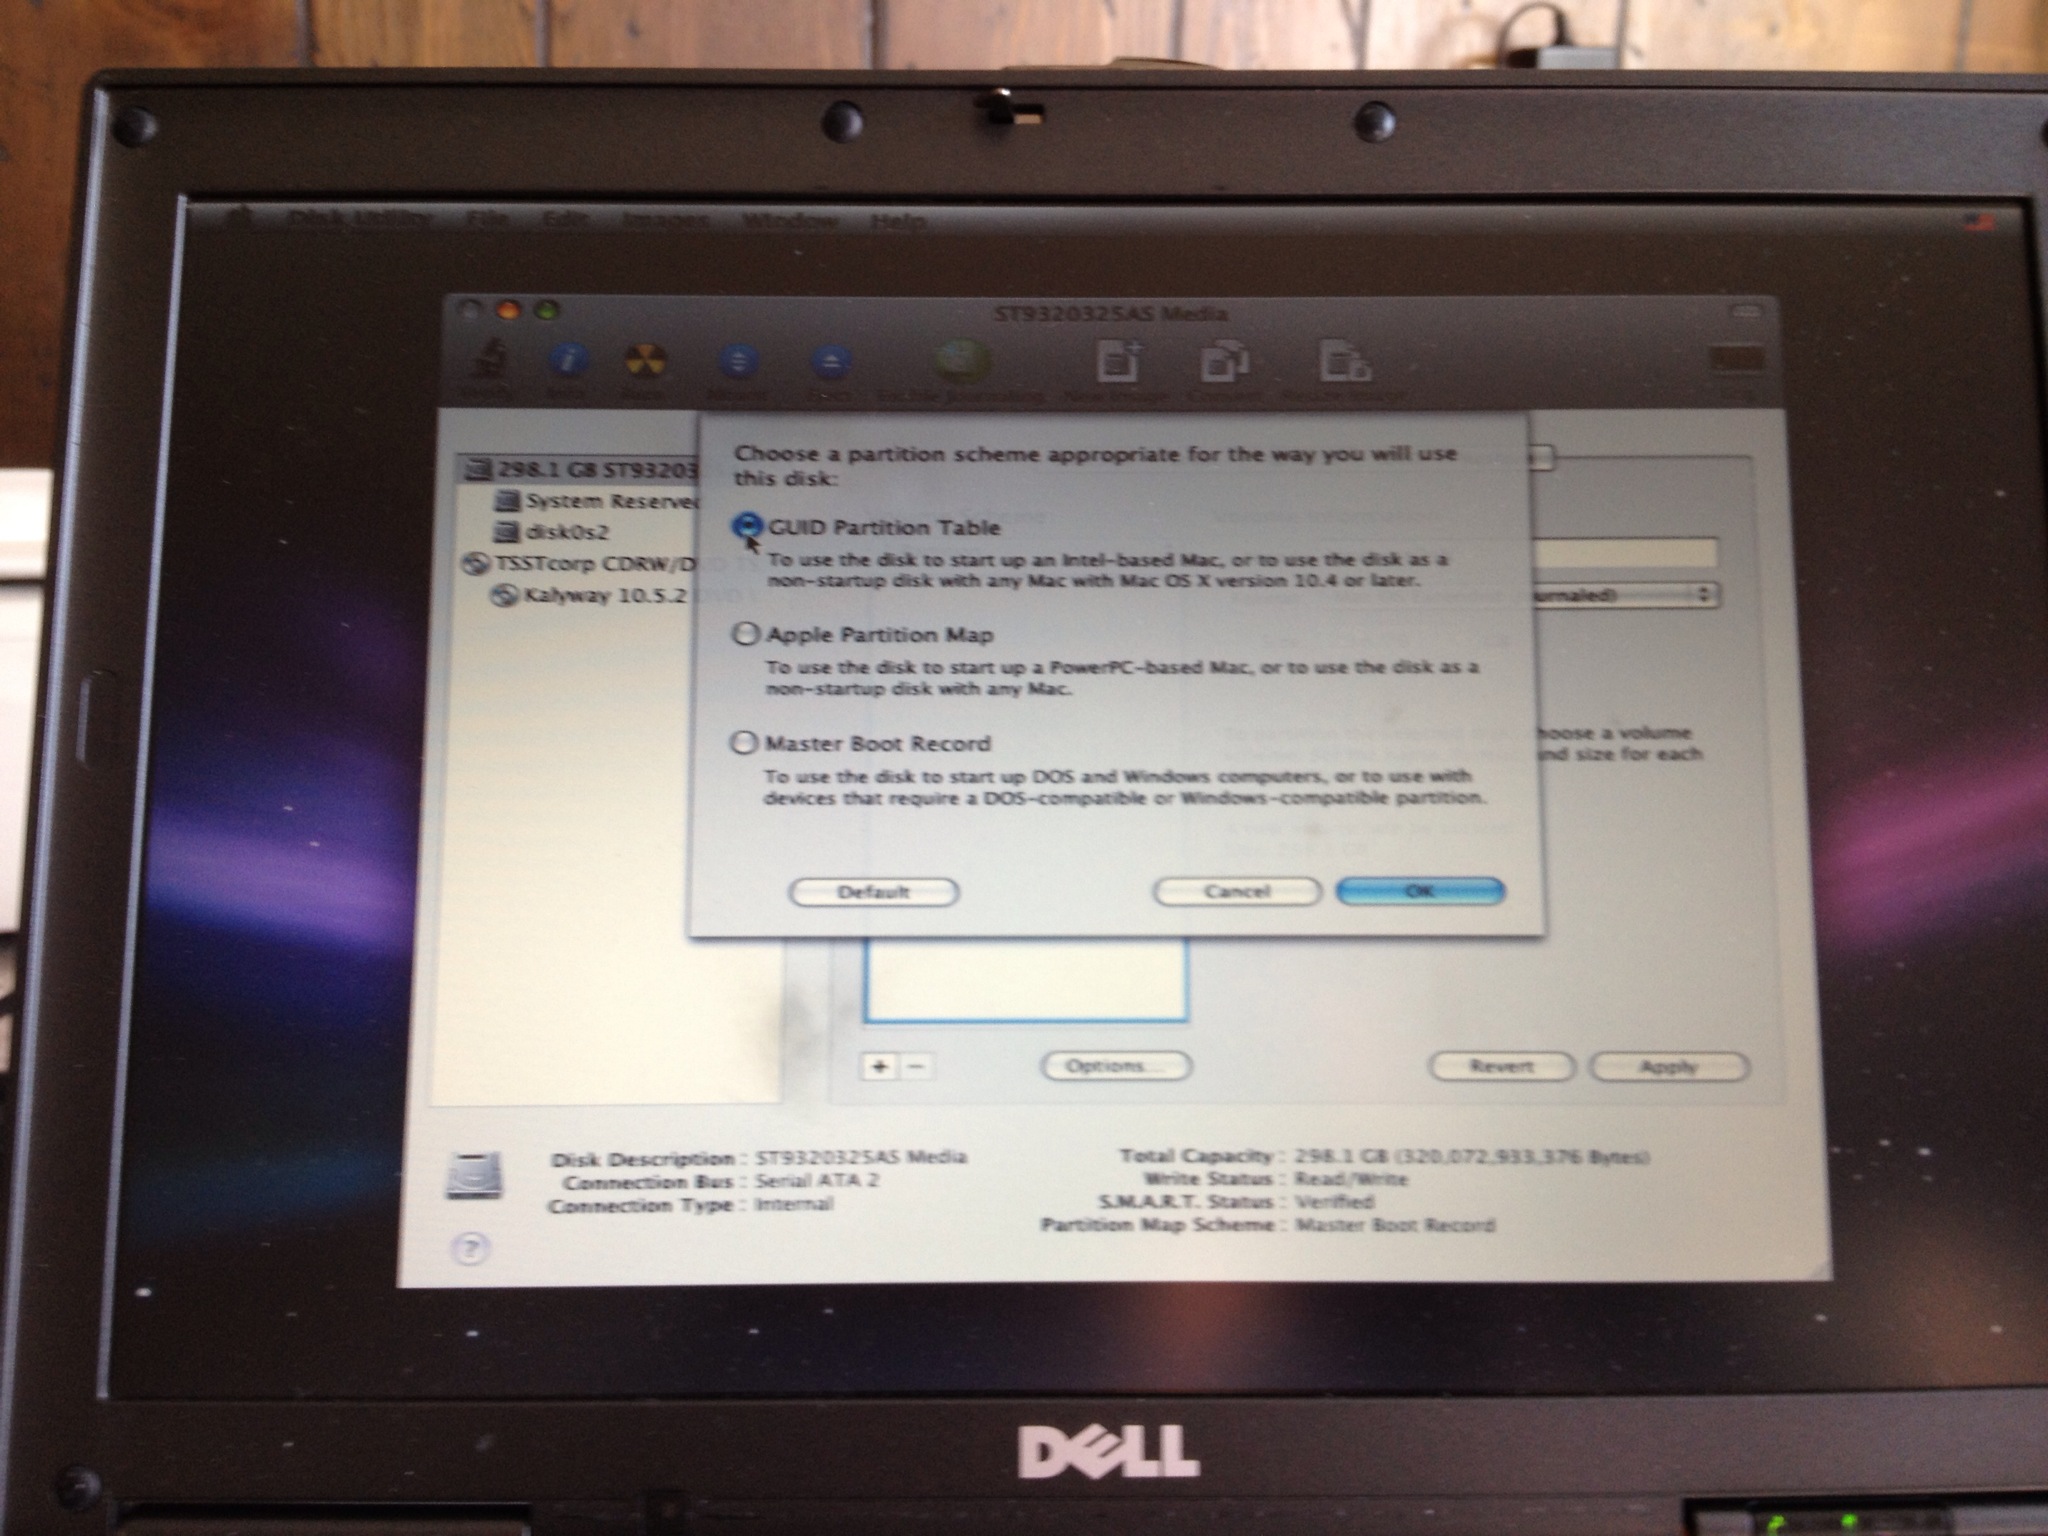
- DON’T FORGET to click on the options button and chose GUID Partition then go for it

- Once partitioned, exit out by clicking the red X button and it should take you back to installation screen
- Choose “Continue” and you will be shown the Agreement page
- Agree
- You will be shown the available options for drives to install on, you should see the one you just partitioned.


- If you don’t see one, it’s ok, you can go back to the Disk Utility and reconfigure
- You MUST CUSTOMIZE!! If you don’t the install will not properly function
- Click on the Customize button and make the choices you require based on your specific hardware.
- If the first install doesn’t work, you probably need to go back and modify the customization options
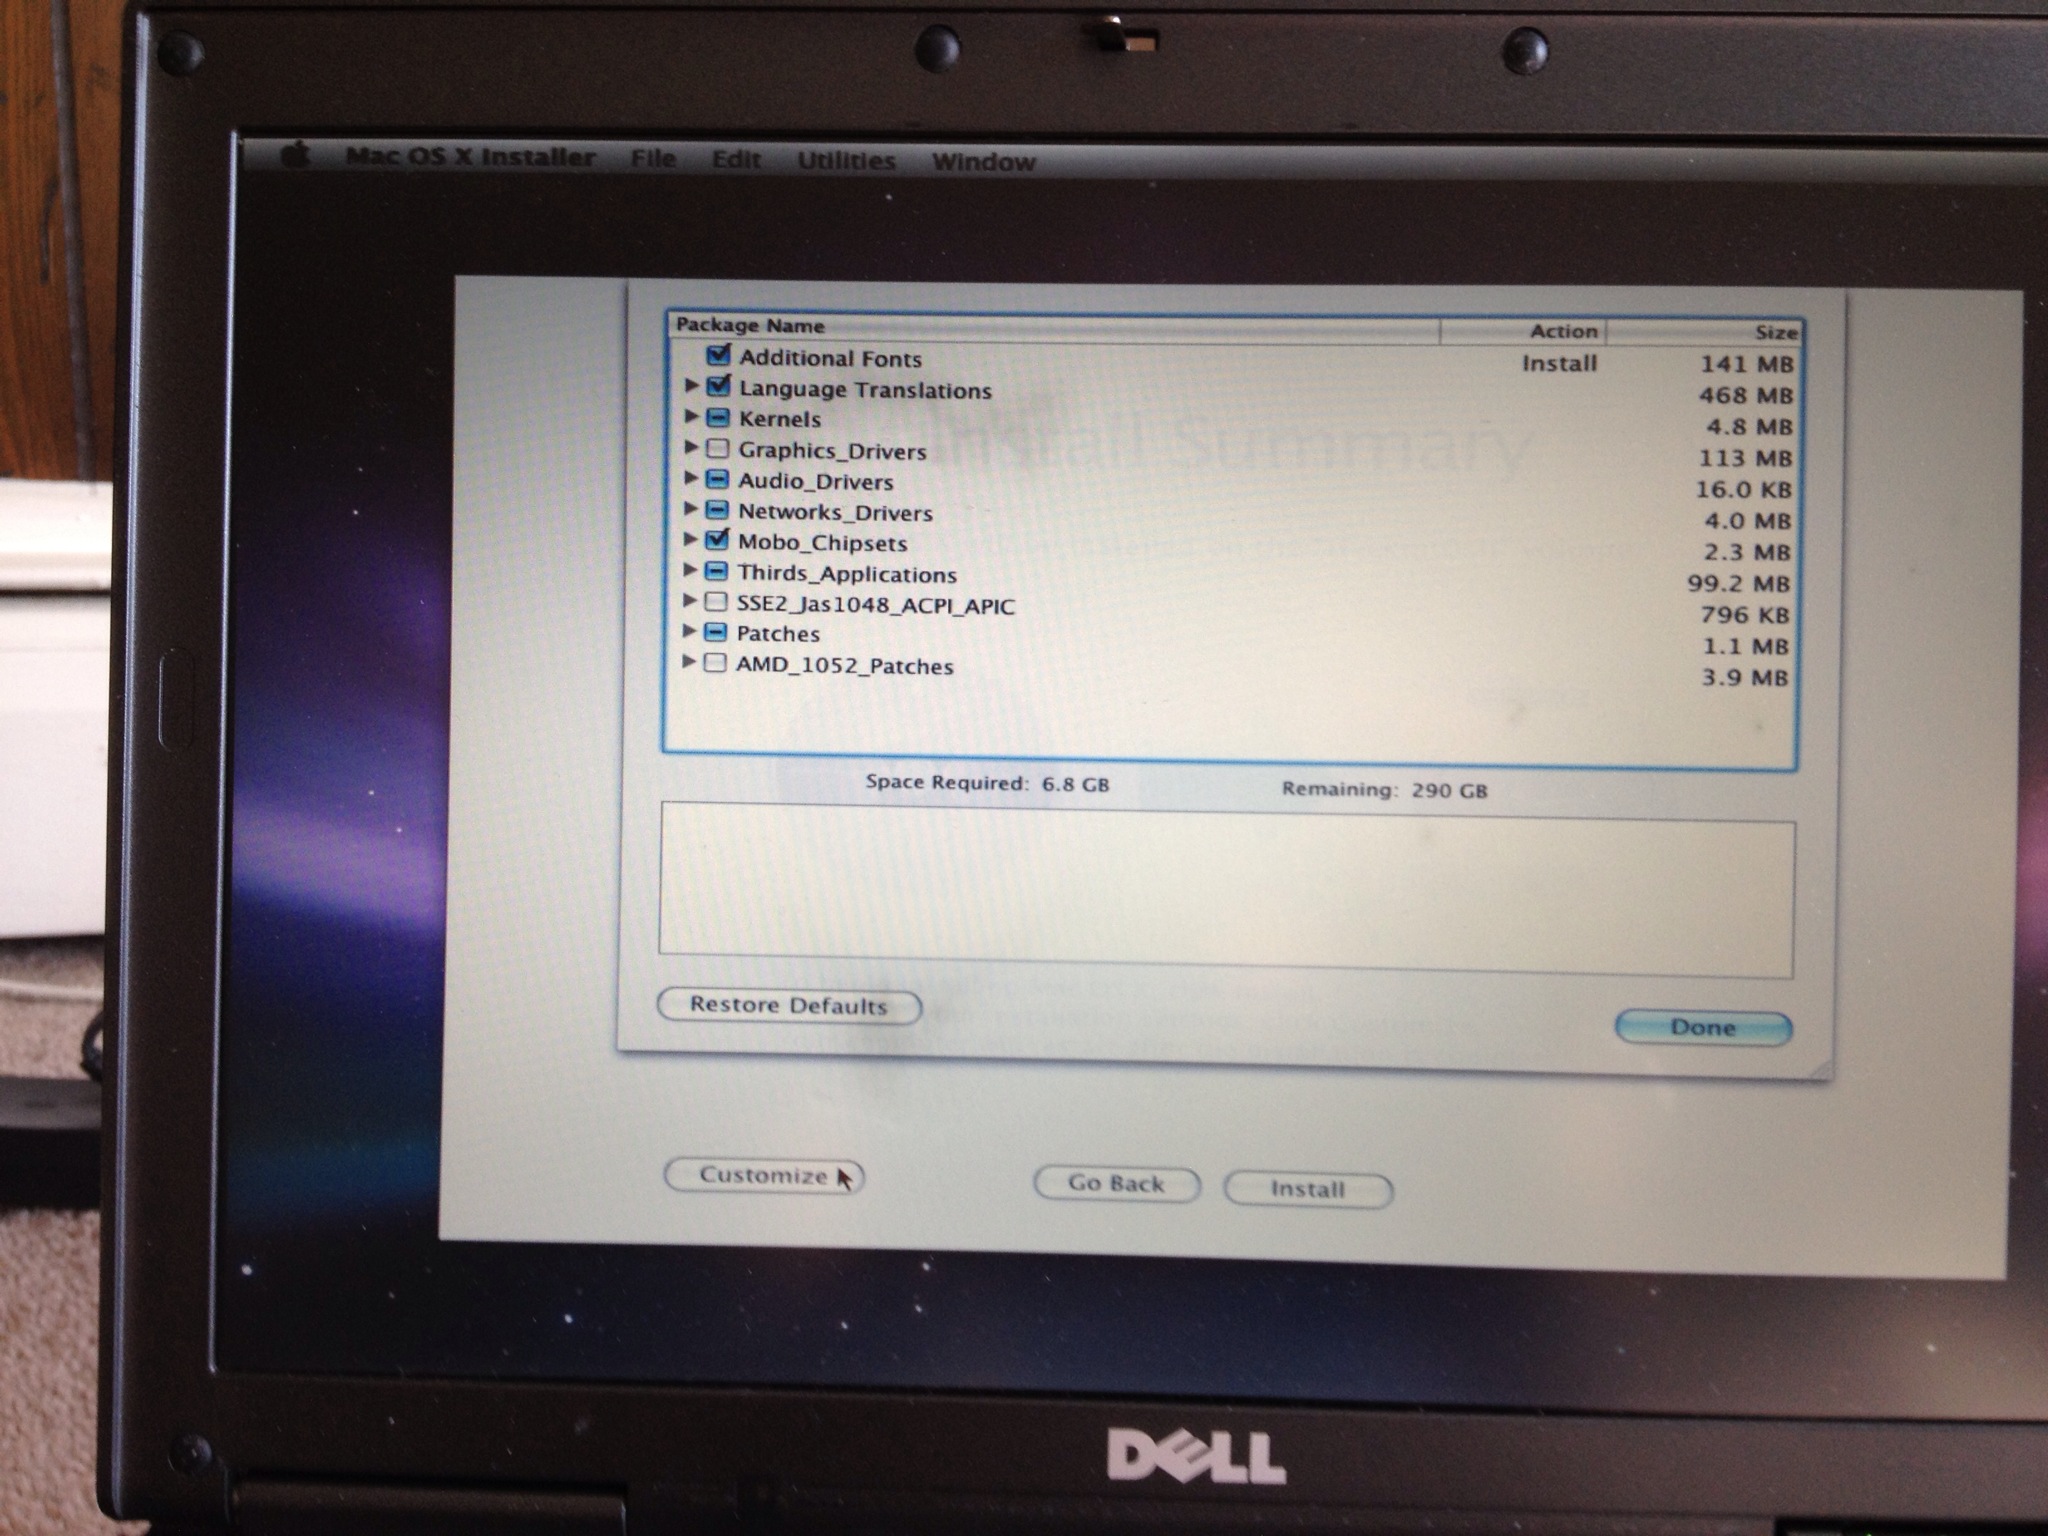
- Click Done and then Install
- Voila!! The installer will primarily check your disk, you can skip the process but I recommend you let it do its thing. Once inspected, the disk won’t need to be inspected again for additional installs.
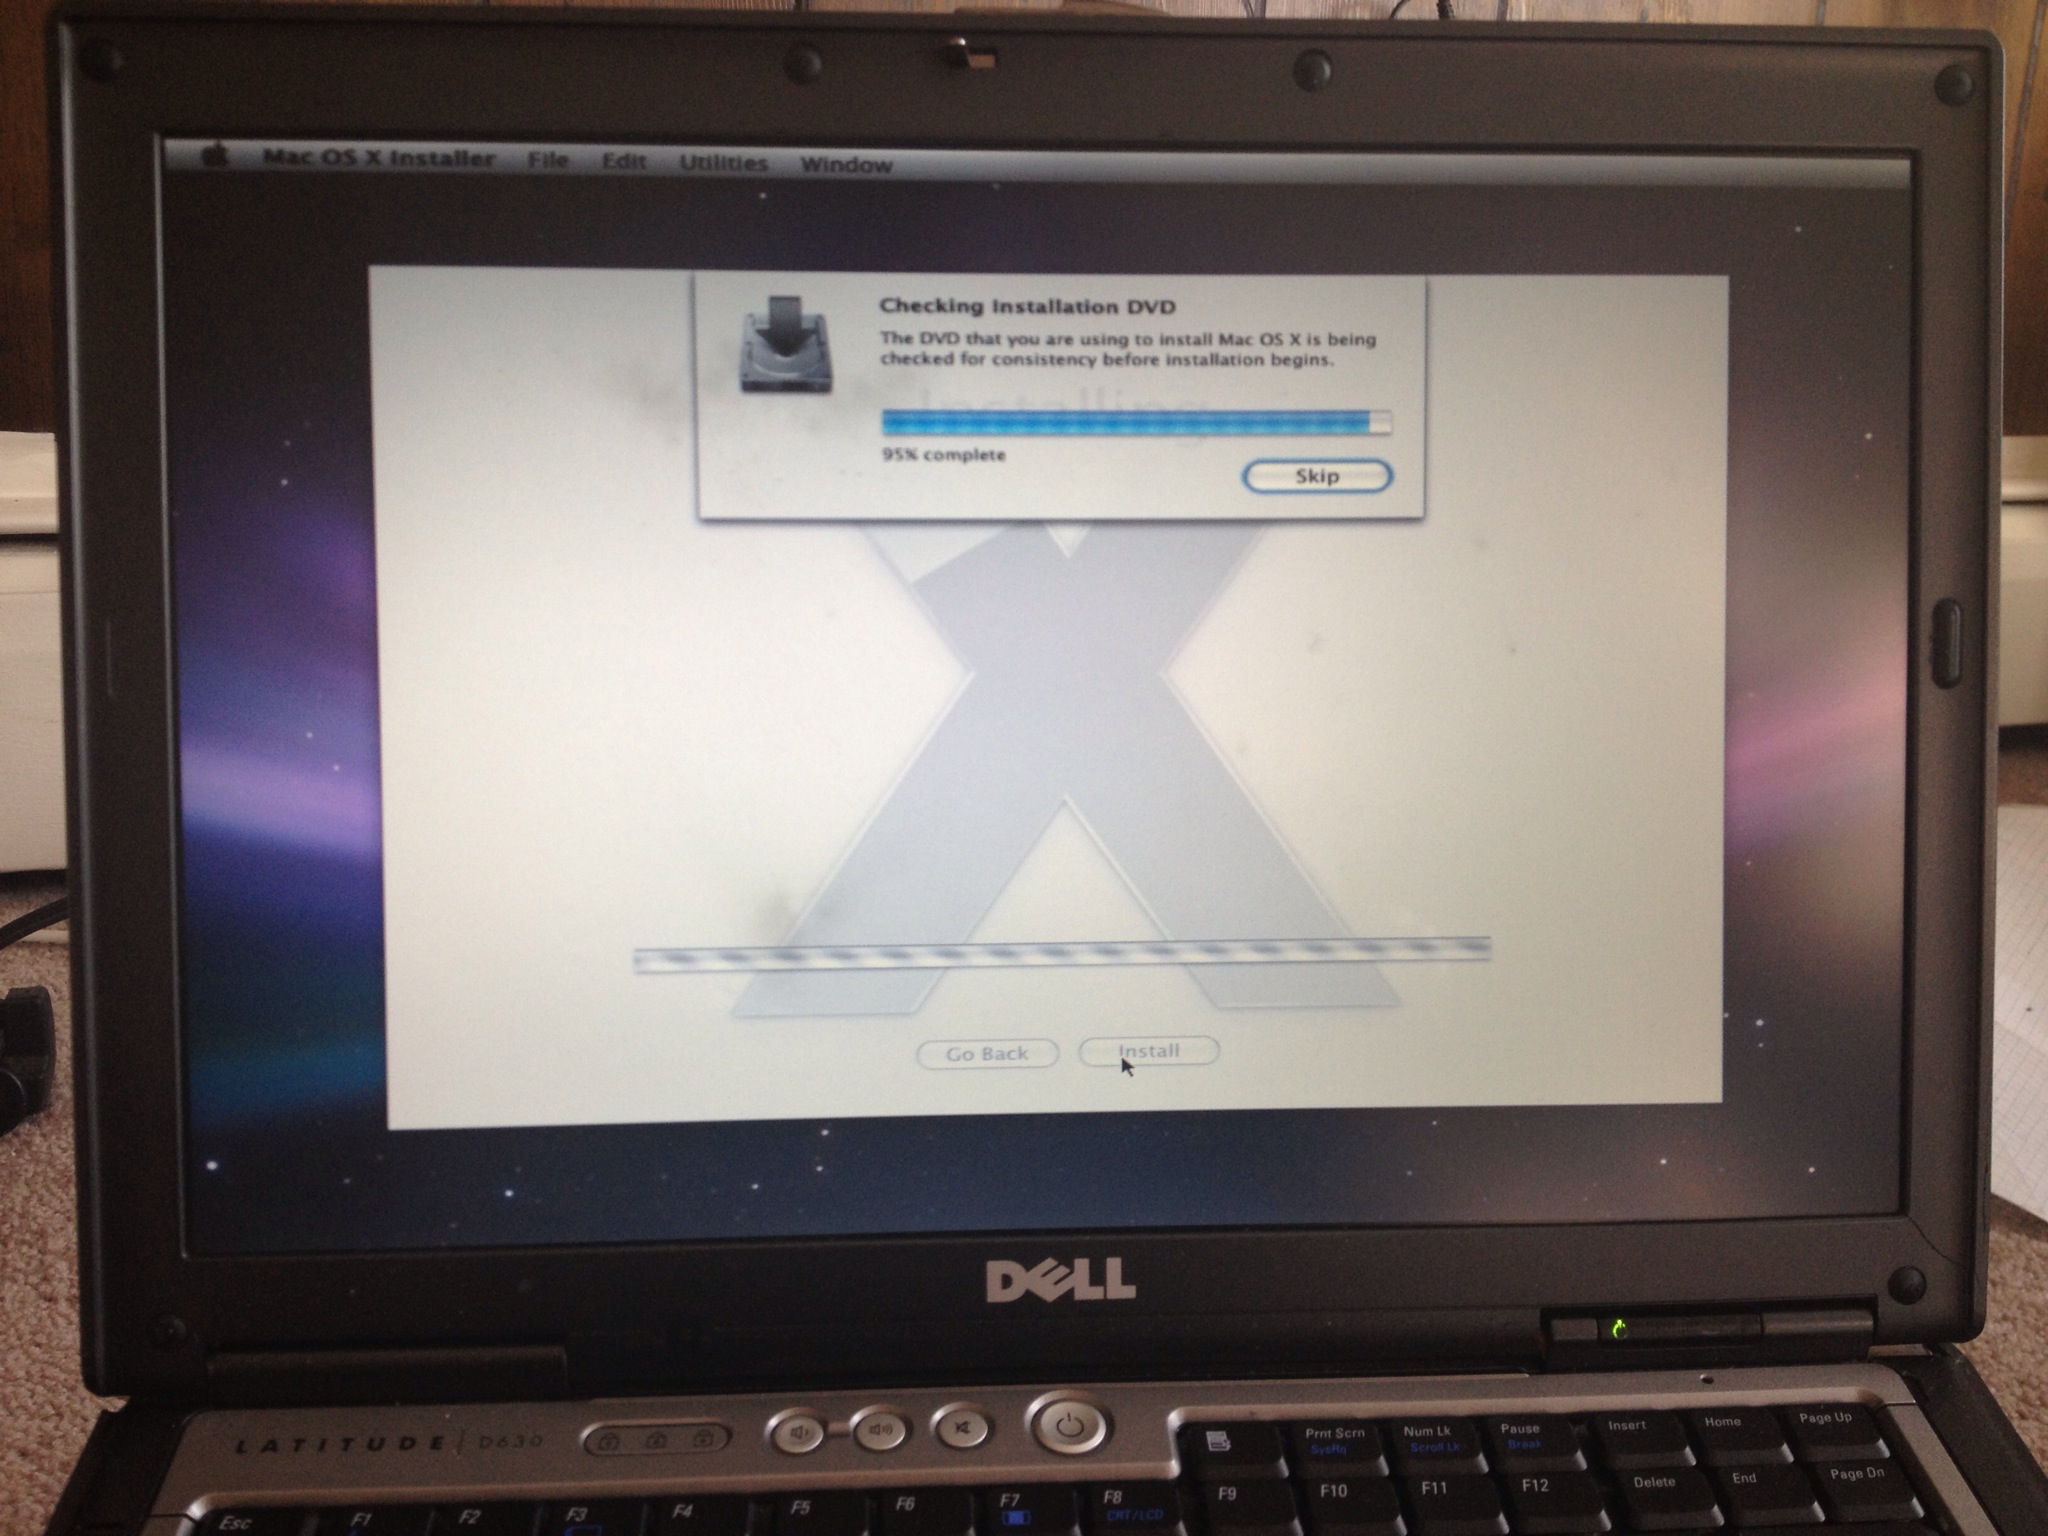
- Once you see a screen with a green checkmark, you did it!! OS X has been installed on your computer.
- You’ll see a fancy video saying welcome in several languages
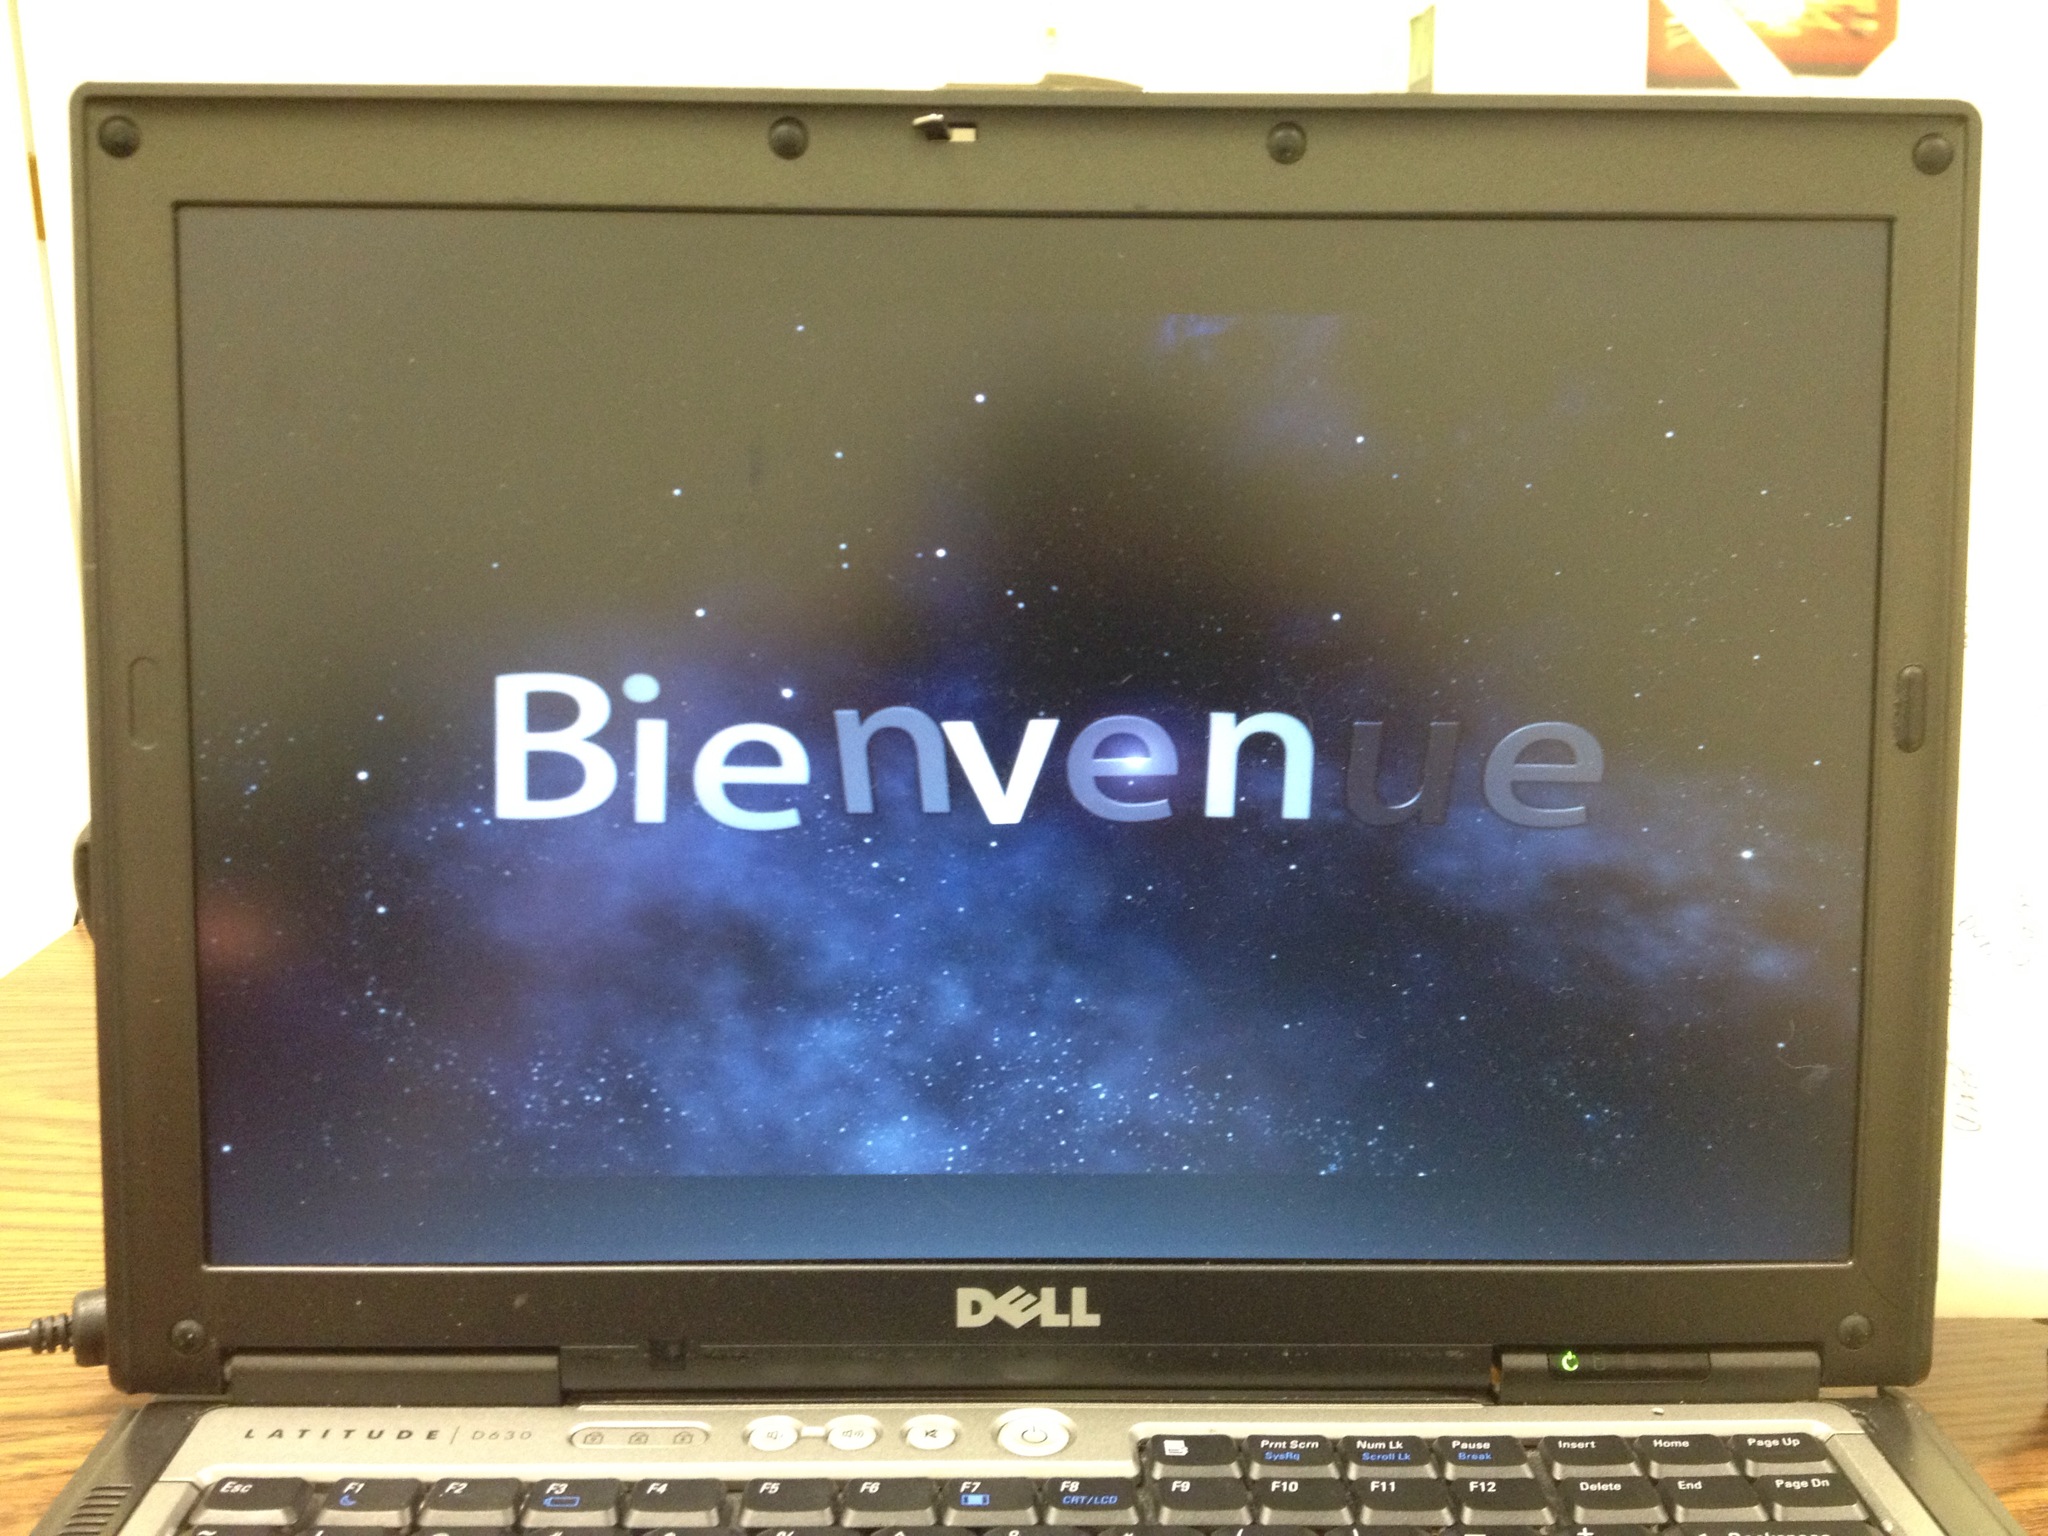


and then be prompted to set up the basics.

- Follow all the prompts
- Add your info if you prefer
- CONGRATS! You are now running OS X on your PC!!
ENJOY YOUR HACKINTOSH 🙂